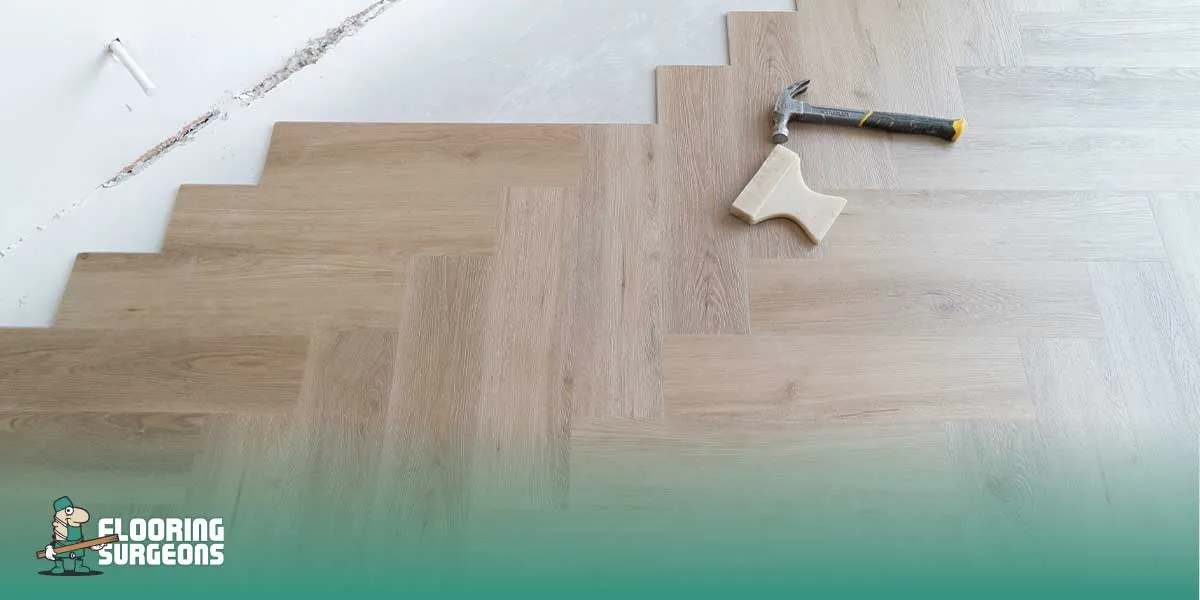
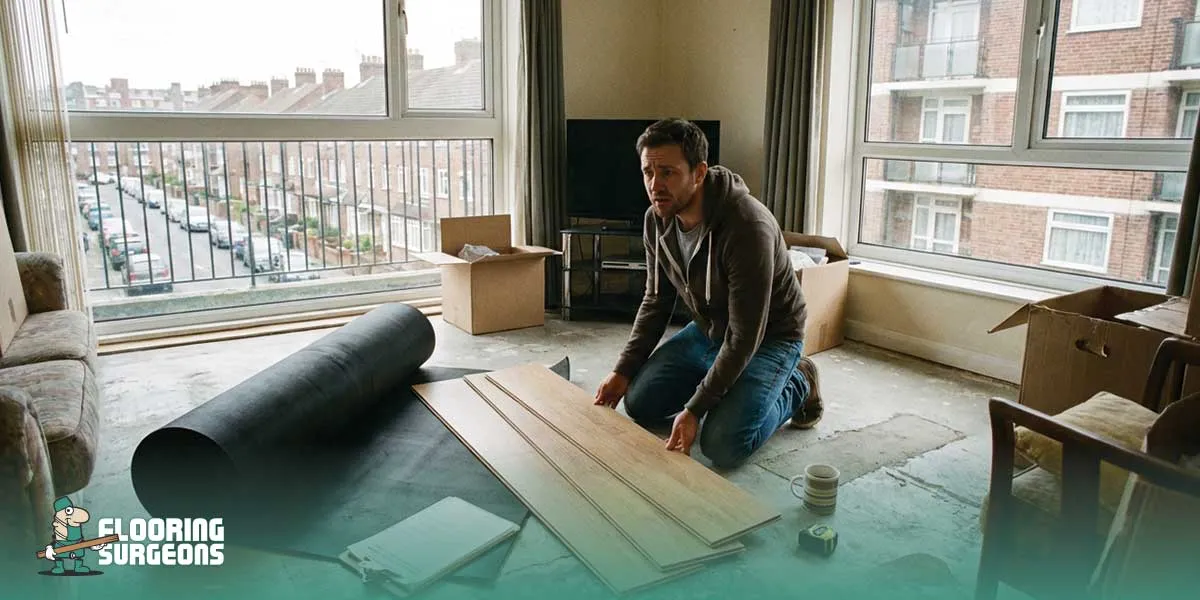
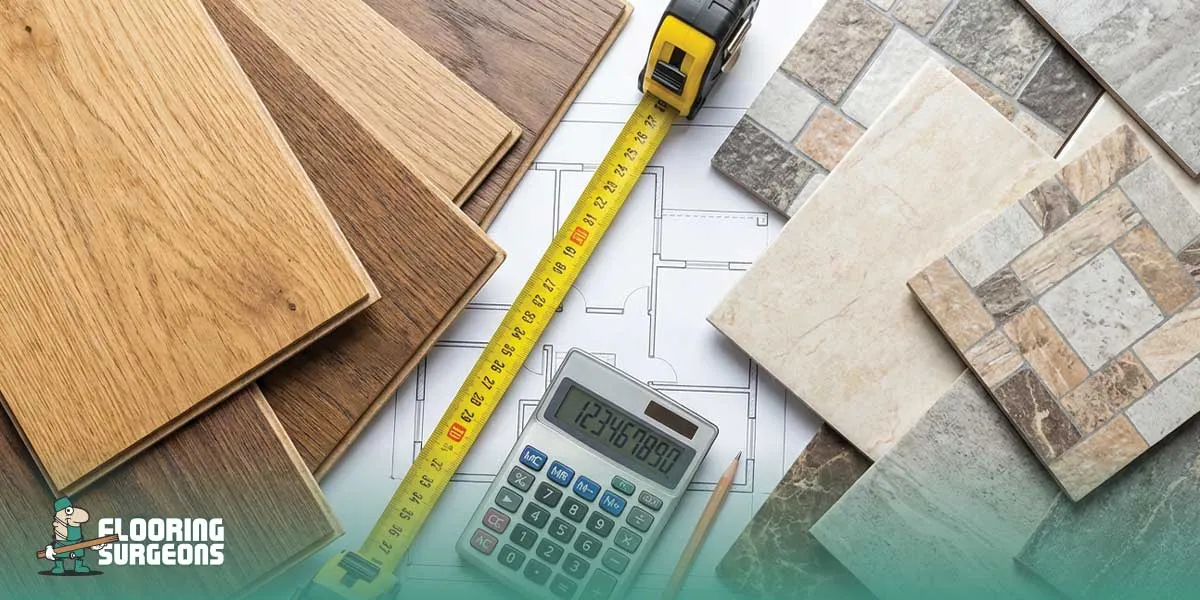
If you’ve ever wanted to give your home a fresh new look without the mess or cost of traditional flooring, vinyl is your best friend. Learning how to install vinyl flooring is surprisingly simple: all you need is a clean, level surface, the right tools, and a bit of patience. The process begins with subfloor preparation, followed by laying your vinyl planks, tiles, or sheets using one of three primary methods: click-lock floating, glue-down, or peel-and-stick. Once trimmed and fitted neatly, the result is a smooth, waterproof, and long-lasting surface that looks just like real wood or stone.
But that’s only the start. In this complete guide, we’ll walk you through every part of vinyl flooring installation, from planning your layout and cutting around tricky corners to fitting stairs and finishing edges like a pro. You’ll also discover how to prepare concrete subfloors, handle obstacles such as radiator pipes or toilets, and choose the correct installation method for your space.
By the end, you’ll not only know how to install vinyl flooring the right way, but you’ll also understand how to maintain it for years of beauty and performance. So grab your toolkit, your perfect new floor starts right here.
Choosing the Best Vinyl Flooring Installation Method for Your Home
Not all vinyl floors are installed the same way. While the look might be identical once finished, the installation technique you choose determines how it feels underfoot, how long it lasts, and how easy it is to maintain. Each method, click-lock, floating, glue-down, and luxury vinyl installation, has its own workflow and hidden tricks that separate an amateur job from a flawless professional finish.
“To ensure the best results for your vinyl flooring installation, don’t forget to choose the right flooring underlay for added stability, soundproofing, and moisture protection.”
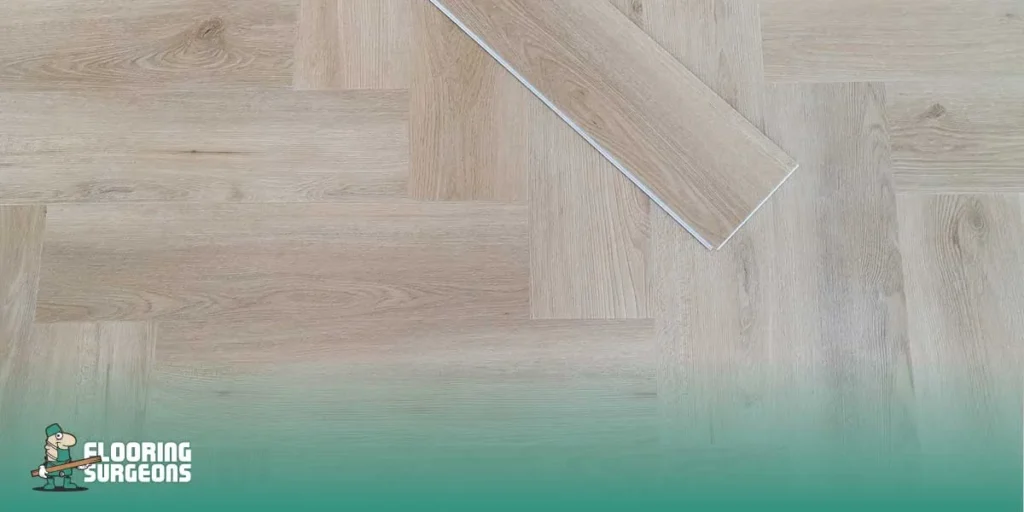
How to Install Vinyl Plank Flooring Glue Down
The glue-down method is the preferred choice for professionals in commercial spaces and high-traffic homes. It delivers a rock-solid feel underfoot, eliminates shifting, and works perfectly for large or irregularly shaped rooms. However, it also demands patience and precision; every millimetre of alignment matters.
Start by preparing the subfloor until it’s flawlessly smooth and dust-free. Even a hairline ridge or grain of sand will be visible under glue-down vinyl once the adhesive dries. Use a vacuum cleaner with a brush head, not a broom, to avoid redistributing fine dust.
Next, choose the right adhesive. There are two main types:
- Pressure-sensitive adhesive (stays tacky, allows repositioning) is best for residential areas.
- Hard-set adhesive (creates a rigid bond) ideal for heavy traffic and large commercial areas.
Spread the adhesive with a notched trowel (1/16 inch recommended). Don’t rush, wait 10–15 minutes until it turns from milky to translucent and tacky. Laying vinyl too early traps moisture; too late, and the glue loses its grip.
Begin installing from your reference line in the centre of the room, pressing each plank firmly from the middle outward to release air bubbles. Use a 50–70 kg roller once a section is complete. This pressure ensures full contact and prevents hollow spots.
Pay extra attention to seams. Overlap joints by a few millimetres, then press and slide slightly to “butt” them cleanly together. Once adhesive sets (usually after 24 hours), trim excess and install baseboards or thresholds.
Pro Secret: Always roll the floor twice, once immediately and again after one hour. The second roll helps the adhesive cure evenly and locks every plank perfectly flat.
Bonus Insight: Never wash or wet-mop the floor for at least 72 hours after glue-down installation; the adhesive needs that time to harden fully.
How to Install Luxury Vinyl Flooring?
Luxury Vinyl Flooring (LVT or LVP) isn’t just about visual appeal; it’s engineered precision. Thicker cores (SPC or WPC), advanced click systems, and realistic embossing mean you’re working with premium material that behaves differently during installation. Treat it with the same respect you’d give real hardwood.
Begin by letting your planks acclimate for at least 48 hours in the installation room. This allows them to adjust to humidity and temperature, minimising expansion after fitting. Keep the temperature stable at 18–27°C (65–80°F).
Luxury vinyl can be installed with either the floating click-lock system or the full-bond glue-down method. For most homes, floating installation works best. Lay a high-density underlay for cushioning and sound absorption, then start from the longest visible wall. Remember: LVT has directional grain; always align planks parallel to incoming light for a natural look.
When connecting each piece, click the short edge first, then lock the long edge by angling and lowering the plank until it clicks firmly. Use a tapping block to tighten seams without damaging the edges.
Temperature management is critical for Luxury Vinyl Flooring. Avoid installing near direct heat sources, such as radiators or underfloor heating, above 27°C unless it is rated for it. The expansion and contraction in those spots can cause lifting over time.
After installation, inspect all joints for tightness. If gaps appear, use a heat gun at a low setting and gently press the planks together. Luxury vinyl softens slightly with warmth, letting you correct small misalignments.
Pro Installer’s Insight: Always store leftover LVT planks flat, not upright. If a single plank ever gets damaged in the future, you’ll have perfectly matched spares ready to click in.
Bonus Tip: For larger spaces (over 10 meters wide), add an expansion break with a T-moulding strip. It relieves tension and prevents buckling.
Step-by-Step Instructions for Installing Vinyl Flooring
Installing vinyl flooring is more like solving a puzzle than doing construction work; every piece, corner, and seam matters. The key is to work innovatively, not fast. Follow these steps carefully, and you’ll get that seamless, professional look even if it’s your first time.
Prepare the Subfloor for Vinyl Flooring Installation
A perfect vinyl floor starts with an invisible hero, the subfloor. If the base isn’t solid and smooth, no luxury vinyl plank can hide it.
- Clean to the Bone: Sweep, vacuum, and wipe down twice. Even the tiniest grain of sand can lift a plank corner weeks later.
- Smooth Every Bump: Run your palm across the surface. If you can feel it, your floor will show it. Use a levelling compound for dips or imperfections greater than 2mm.
- Dryness Is Everything: Tape a plastic sheet overnight (the “moisture test”). If condensation forms, delay installation and use a dehumidifier. This one trick saves hundreds in future repairs.
- Sound Check: Tap with a coin. A hollow sound means a weak patch or old adhesive beneath. Scrape it clean and re-level.
Expert tip: Never install vinyl over carpet or soft foam underlay. It traps movement and ruins the locking system within months.
Check the Vinyl Planks Before Installation
Most people skip this, and it’s why their floors later look “off.” Before you glue, click, or stick anything:
- Inspect Every Plank: Slight colour or texture variations happen between production batches. Mix planks from multiple boxes to balance tone.
- Edge Alignment: Look for chipped corners or rough edges; even a tiny defect will widen into a visible gap after locking.
- Dry Layout Test: Lay out 2–3 rows without fixing. This gives you a visual preview of how the floor will look and helps plan where to start cuts or patterns.
- Room Lighting Test: View the planks in both daylight and artificial light. Vinyl surfaces reflect light differently depending on grain direction. Rotate a few to find the best orientation.
Pro Insight: Many pros mark the back of each box with arrows showing the best grain direction before starting it, which saves hours during real installation.
For professional advice and premium-quality materials for your flooring installation, visit Flooring Surgeons.
Measure Your Room for Vinyl Flooring
Good installers don’t measure walls; they measure flow.
- Find Your Visual Centre: Start from the area people see first when entering the room, not the middle of the floor.
- Balance Both Sides: Divide the room width by plank width. If the last row is less than 5 cm, trim the first row instead to maintain symmetry.
- Account for Expansion Gaps: Always subtract 5–8 mm from all sides. This hidden buffer lets your vinyl “breathe” and prevents buckling in summer.
- Mark Reference Lines: Snap a chalk line parallel to your starting wall. This becomes your “true north” during installation.
Bright Tip: For irregular rooms, make a rough sketch and label tricky zones (doors, radiators, corners). Plan cuts on paper before you cut your planks.
How to Install Vinyl Plank Flooring?
This is where precision meets rhythm: click, tap, lock, repeat.
- Start Along the Longest Wall: Usually opposite the room’s entrance, place spacers for expansion gaps.
- Click-Lock Technique: Insert the tongue at a 20–30° angle into the groove, lower it slowly, then tap lightly with a rubber mallet.
- Stagger Joints: Offset every row by at least 20 cm. It creates natural visual flow and prevents weak joint lines.
- Trim & Snap: Score with a sharp utility knife and bend gently to snap cleaner than sawing.
- Final Row Fit: Use a pull bar and mallet for tight end seams.
Pro Secret: Heat stubborn planks slightly with a hair dryer. They flex better and lock tighter, especially in cold rooms.
How to Install Vinyl Tile Flooring?
Vinyl tiles mimic stone and ceramic but install faster and with fewer tools.
- Dry Fit First: Align tiles diagonally or in a grid, depending on your design. Check symmetry before gluing.
- Adhesive Timing: Spread glue using a notched trowel. Wait 5–10 minutes until it’s tacky, never wet.
- Lay from Centre Outward: Start at your chalk line and work outward to prevent misalignment.
- Press and Roll: Use a floor roller or rolling pin to remove air pockets.
- Wipe Excess Immediately: Adhesive dries fast, and a slightly damp microfiber cloth does the job.
Pro Tip: Always rotate adjacent tiles by 90° if they have subtle patterns, as it breaks repetition and gives a more natural stone effect.
How Much Does It Cost to Install Vinyl Flooring?
The cost of vinyl flooring installation depends less on square footage and more on what’s under your floor and who’s doing the work. Here’s what most people (and even many installers) overlook:
- DIY vs. Professional: Doing it yourself may save you labour costs (£15–£30/m² typically in the UK), but professional fitters bring precision that can extend your floor’s life by up to five years.
- Hidden Prep Costs: Levelling compounds, Flooring Underlay, Flooring Adhesive, and trimming tools can easily add 10–20% to your budget, often forgotten during initial estimates.
- Waste Factor: Always buy 5–10% more vinyl than your floor area, especially for patterned planks or tiles. Misaligned grain or mismatched seams can ruin an otherwise perfect job.
- True Value Insight: Vinyl isn’t about being “cheap.” It’s about being smart. A well-installed LVT or SPC floor can mimic the look of engineered wood at a fraction of the price and perform better in high-moisture rooms.
Pro Insight: The biggest money-saver isn’t skipping the installer, it’s doing the prep right the first time. Fixing subfloor issues before installation prevents costly replacements later.
How to Install Vinyl Flooring on Concrete?
Concrete subfloors are strong, but tricky; they hide their problems well. The main goal here isn’t just sticking vinyl down; it’s about ensuring your concrete never transfers moisture or cold upward.
Here’s a process even seasoned installers swear by:
- Deep Clean & Inspect: Vacuum and mop the surface, then rub your hand across. Any chalky residue? That’s concrete dust, which weakens adhesives. Wipe with diluted vinegar water to neutralise it.
- Moisture Shield Matters: Never skip the underlayment or DPM (damp-proof membrane). Even if your concrete feels dry, microscopic vapour can creep up and bubble your vinyl over time.
- Temperature Buffer: Concrete is colder than other bases. If you’re using click-lock planks, consider an insulating foam underlay. It prevents heat loss and adds subtle cushioning.
- Expansion Freedom: Always leave a 5–8mm gap along walls. Vinyl may be synthetic, but it still responds to temperature swings. This small space prevents buckling.
- Don’t Rush the Cure: If the concrete was poured recently, wait at least 60 days before installation. Rushing this step is a silent killer of vinyl adhesion.
Expert Tip: Tap the floor with a coin; a hollow sound reveals trapped air pockets or uneven curing. Those spots need a skim coat before you lay a single plank.
Expert Tips for Achieving a Flawless Vinyl Flooring Installation
Even if you follow every step, the finishing quality comes from technique.
- Work With the Light: Lay planks parallel to the primary light source to hide minor seams.
- Keep the Knife Sharp: Change blades every 10 cuts. Dull blades tear edges and dull the finish.
- Mind the Temperature: If installing in winter, warm the planks for 10–15 minutes before cutting to prevent cracking.
- Use Knee Pads and Soft Shoes: Pressure marks from rugged soles can distort fresh vinyl before it settles.
- Don’t Rush the End: Walk the entire floor once finished, pressing down every joint with your hand. You’ll catch imperfections before they settle permanently.
Golden Rule: Installation is 80% patience, 20% strength.
How to Install Vinyl Sheet Flooring?
Vinyl sheet flooring looks simple but the challenge is its size. A single roll can weigh over 40 kg, and a slight mistake means restarting.
- Unroll and Relax: Let the sheet rest flat in the room for at least 24 hours to remove curl memory.
- Rough Cut First: Leave 5–10 cm extra on all sides. Fine cuts come after glueing.
- Fold and Apply Adhesive: Fold the sheet in half, apply glue with a trowel, and lay it back slowly. Repeat for the other half.
- Roll and Trim: Use a 50–70 kg roller to press out bubbles. Trim the edges with a sharp knife once the adhesive has set.
- Seam Welding (Pro Touch): If joining multiple sheets, use cold weld sealant it bonds seams seamlessly without visible lines.
Expert Tip: To cut around curved objects (like toilets), place a sheet of paper under the vinyl, trace the curve, then transfer the pattern onto the flooring zero guesswork.
How to Install Vinyl Flooring on Stairs?
Installing vinyl flooring on stairs transforms dull, worn steps into a sleek, modern feature but stairs are a completely different challenge from flat floors. Each tread, riser, and edge needs perfect fitting and secure bonding to withstand daily impact. Here’s the step-by-step professional method:
What You’ll Need
- Pre-cut vinyl planks or stair treads
- Heavy-duty vinyl adhesive (pressure-sensitive or contact type)
- Utility knife + straight edge
- Measuring tape
- Heat gun or hairdryer
- Stair nosing (optional but highly recommended)
Step-by-Step Installation
- Prep Each Step: Clean and degrease thoroughly. Any dust or polish residue will weaken adhesion if the steps are wooden; sand lightly to roughen the surface.
- Measure & Cut: Measure each tread and Riser individually; even minor differences matter. Mark the direction of the grain so it flows consistently down the staircase.
- Dry Fit Everything: Lay each piece in position before gluing. Check transitions and nosing fits perfectly. Adjust now, not later.
- Apply Adhesive: Spread adhesive evenly using a notched trowel. Wait until it’s tacky (not wet) before applying vinyl.
- Attach the Riser First: Always start from the Riser (vertical part). Press firmly from the centre outward to remove bubbles.
- Lay the Tread: Align carefully at the front edge and roll backwards. Use a roller or your hand to apply pressure, especially on corners.
- Seal the Nosing: If using a separate stair nosing, secure it with adhesive and screws for maximum grip. If it’s built-in vinyl nosing, heat slightly with a hairdryer and press to shape perfectly.
- Repeat and Inspect: Work one step at a time, never rush stairs. Once all are done, walk on them after 24 hours.
Pro Stair Insight: Use a soft pencil to mark alignment lines along the wall before cutting. Pen or marker ink can react with vinyl over time, causing faint surface stains.
Extra Stair Durability Tips
- Add Anti-Slip Strips: Clear vinyl or rubberised strips prevent slipping without ruining aesthetics.
- Use Contact Adhesive on Edges: For the first and last 5 cm of each tread, these areas bear the most stress.
- Keep Heat Handy: If planks feel stiff, a quick pass with a hairdryer makes them more pliable and reduces the risk of cracking.
Installer’s Golden Rule: On stairs, every millimetre counts. A 1mm overlap or gap at a riser line becomes a visible flaw. Measure twice, cut once, press always.
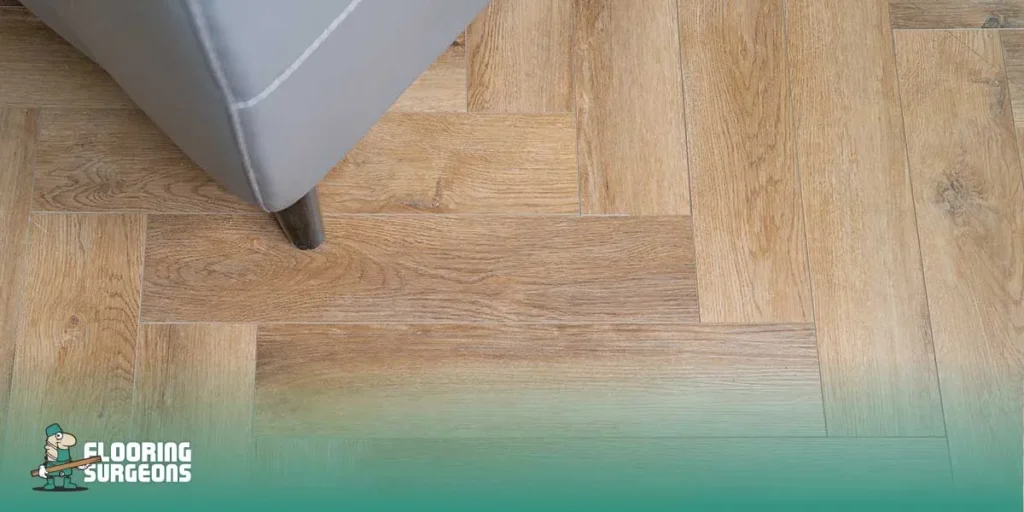
Fitting Vinyl Flooring Around Obstacles
No matter how perfect your layout is, every room has its “problem zones”: toilets, radiator pipes, door frames, or odd corners that turn an easy vinyl flooring installation into a test of patience and precision. This is where craftsmanship truly shows. A professional finish isn’t about flat spaces; it’s about how neatly you handle the obstacles. The goal is always the same: make the vinyl look like it was poured seamlessly into place, not cut and patched around things.
Let’s break down how to fit vinyl flooring perfectly around the trickiest areas of your home.
Fitting Vinyl Flooring Around Toilets and Basins
Bathrooms are the most formidable challenge in any vinyl flooring installation. Moisture, tight spaces, and curved surfaces mean precision is non-negotiable. Cutting too broad leaves gaps that let water in; cutting too tight causes lifting and bubbling when the vinyl expands.
Start by cleaning the area thoroughly and removing any old sealant or debris around the toilet base. If possible, remove the toilet temporarily; it makes the job far easier and ensures a watertight edge later. But if removal isn’t an option, here’s the pro method:
- Create a Template: Use a large piece of craft paper or cardboard to trace the outline of the toilet and basin pedestal. Cut the shape carefully and test-fit it. This becomes your pattern.
- Transfer & Cut: Place the template on the vinyl plank or sheet and trace the shape with a pencil. Cut slightly inside the line first; you can always trim more, but you can’t replace material.
- Warm and Flex: Use a hair dryer to warm the vinyl around curves gently. It becomes more pliable and hugs contours better without tearing.
- Fit and Seal: Once placed, seal the joint between the vinyl and the toilet base with transparent, flexible silicone. This prevents moisture infiltration while still allowing natural expansion.
Expert Detail: Never seal the entire perimeter airtight. Leave a 3–5 cm gap unsealed behind the toilet, which allows trapped air and moisture to escape, preventing mould growth underneath.
Fitting Vinyl Flooring Around Radiator Pipes
Radiator pipes are small but notorious for ruining an otherwise perfect floor. The key here is precision drilling and expansion allowance.
- Mark the PipeCentress: Lay the vinyl plank or tile loosely in position and mark the exact centres of the pipes on its surface.
- Drill Smart: Use a hole saw or spade bit that’s 2–3 mm wider than the pipe diameter. That extra space lets the vinyl expand and contract without cracking.
- Make a V-Cut: From the edge of the plank to the drilled hole, make a straight cut to create a “V” shape. This allows the plank to slip neatly around the pipe.
- Hide the Gap: After installation, glue a matching colour-coded pipe collar (pipe rose) around the hole. It hides the cut perfectly and gives a clean, professional finish.
- Optional Seam Weld: For sheet vinyl, use a cold-weld seam adhesive around the pipe base to fuse the edges and make the cut invisible.
Pro Installer’s Trick: Warm the vinyl slightly before drilling. Cold vinyl can crack around the edges of the hole, especially SPC or rigid-core planks.
Avoid This Mistake: Don’t force the pipe through an undersized hole, as it stresses the vinyl and can cause future tearing when the metal heats up.
Fitting Vinyl Flooring at External Corners
External corners, such as where a wall edge meets another surface, test your cutting precision and your eye for symmetry. Unlike internal corners, you can’t hide imperfections under skirting.
- Dry Fit First: Lay the plank or sheet so it slightly overlaps the corner. Press it gently with your fingers to create a faint crease where the corner meets the edge.
- Score, Don’t Cut Deep: Use a sharp utility knife to lightly score along that crease. Bend the vinyl slightly backward, and it will snap along a clean, straight line.
- Wrap Technique (for Sheet Vinyl): Warm the vinyl with a heat gun or hair dryer, then gently bend it around the corner and press it flat with a roller or a soft cloth. This creates a continuous, wrapped look, with no separate seam needed.
- Trim with Precision: Once wrapped, trim Excess along the vertical line using a metal straightedge. Always cut away from yourself for stability and cleaner edges.
- Protect the Corner: For high-traffic areas, consider adding a clear corner guard or L-shaped vinyl protector. It prevents wear from vacuums and mops.
- Pro Tip: Always keep your cutting blade brand-new for corner work. Dull blades snag the wear layer, leaving tiny white stress lines that only appear after a few days.
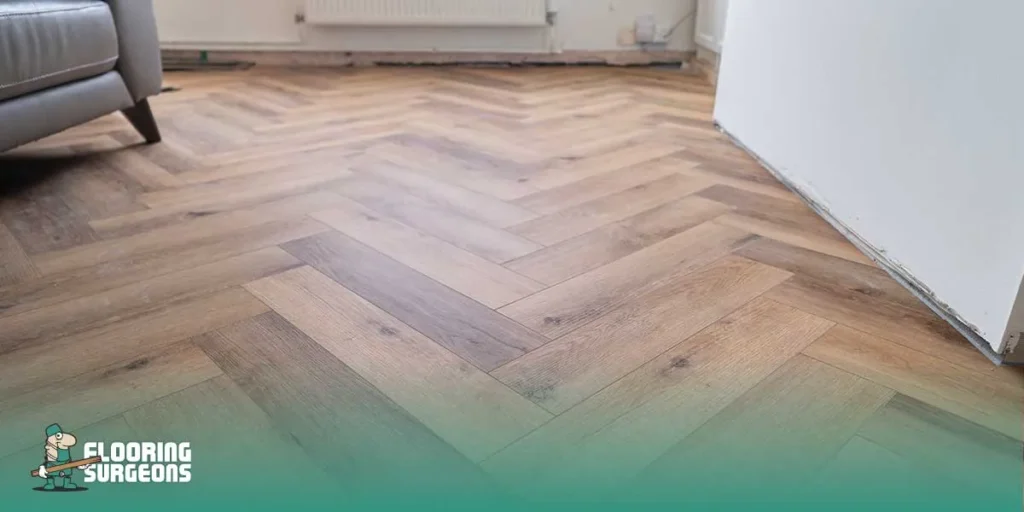
Fitting Vinyl Flooring Around a Door Frame
Doorways are where professional and amateur jobs are instantly distinguishable. A sloppy cut or an uneven gap at the frame base is the first thing people notice, and once seen, it can’t be unseen.
- Undercut the Door Frame: Instead of cutting vinyl around the jamb, use a flush-cut saw to remove 5–8 mm from the bottom of the frame. This allows the vinyl to slide underneath for a seamless, custom look.
- Use a Spacer for Accuracy: Place a scrap piece of vinyl next to the frame before cutting it, to ensure you remove exactly the right height.
- Measure Expansion Space: Even under a frame, the vinyl still needs 3–5 mm of expansion space. Never wedge it too tightly beneath the jamb.
- Plan the Sequence: Always finish door areas last. This prevents scratching while you work on the rest of the room and makes alignment with thresholds between rooms easier.
- Cut with Patience: When trimming for tight fits, make multiple shallow passes rather than a single deep cut. It gives smoother, more accurate cuts.
- Seal for Perfection: Once fitted, apply a thin bead of colour-matched sealant at the joint where the vinyl meets the threshold or adjoining flooring type.
Pro Insight: If two rooms meet under the same door, use a slim T-moulding trim instead of forcing both vinyl edges together. It absorbs expansion pressure and prevents cracking along the doorway over time.
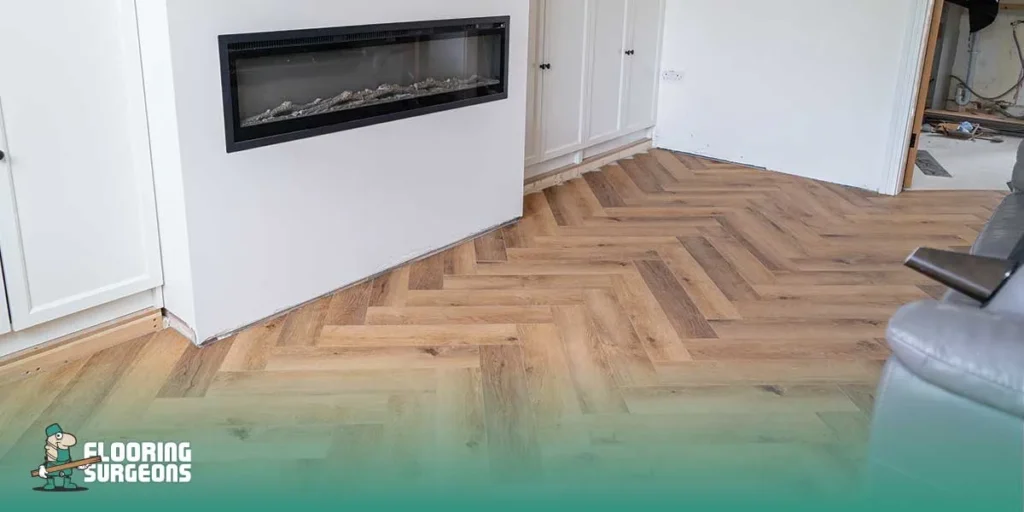
How Long Does It Take to Install Vinyl Flooring?
The time required for a vinyl flooring installation depends on your chosen product type, room conditions, and your experience level, but most homeowners underestimate the prep time, not the laying itself.
1. Preparation (4–8 hours):
Cleaning, levelling, drying, and acclimating the planks usually take longer than you expect. Vinyl should rest in the room for at least 24–48 hours before installation to stabilise temperature and humidity.
2. Layout & Cutting (2–4 hours):
Drawing reference lines, trimming door frames, cutting around pipes and corners, this is slow, detailed work that defines the final look.
3. Actual Installation (3–6 hours):
A small room (10–15 m²) with click-lock planks can be finished in half a day by one person; larger spaces, glue-down systems, or complex patterns can extend to a full day or more.
4. Finishing & Curing (1–2 days):
Glue-down floors require 24 hours before foot traffic and up to 72 hours before wet cleaning. Floating systems are walkable immediately, but it’s best to wait a few hours before adding heavy furniture.
Realistic Timeline Example:
- Small bathroom (peel-and-stick): 4–6 hours total
- Medium living room (click-lock): 1 full day
- Large open-plan with glue-down: 2–3 days, including curing time
Remember: rushing installation often costs more; perfectly measured, slowly installed vinyl can last 20 years; rushed vinyl rarely lasts five.
Final Touches After Installing Vinyl Flooring
The installation might look done, but the finishing touches are what separate an average DIY floor from a professional masterpiece. These final steps protect, polish, and perfect your new surface.
1. Install Trims and Skirting Boards
Replace or re-fit baseboards to cover the expansion gap for a seamless aesthetic, paint or stain trims to match your floor tone before attaching them. Avoid nailing directly into planks; always fix to the wall.
2. Seal the Edges (Where Needed)
Apply a thin bead of clear silicone sealant around high-moisture areas, such as kitchens, bathrooms, or laundry rooms. It prevents water from seeping beneath the planks while keeping flexibility for expansion.
3. Inspect Every Seam
Stroll across the entire floor. Run your fingers along joints to feel for tiny height differences or lifted edges. Press them flat or use a seam roller before the adhesive fully cures.
4. Clean the Surface Gently
Wipe the floor with a soft, slightly damp mop to remove dust from the installation. Never use harsh chemicals; only pH-neutral cleaners approved for vinyl.
5. Allow Proper Settling Time
Avoid heavy furniture for 24 hours on floating floors and 48 hours on glue-down. This prevents compression marks while the vinyl settles evenly.
Pro Installer’s Trick: If minor gaps appear after 24 hours, gently warm them with a hairdryer and press with a clean cloth. The vinyl will relax and close the gap naturally.
“Wondering if vinyl flooring is the best choice for your space? Explore our detailed comparison between laminate vs vinyl flooring and make an informed decision for your next project!”
Vinyl Flooring Maintenance and Care
A well-maintained vinyl floor can look brand new for over a decade. The beauty of vinyl lies in its durability and low maintenance, but a few smart habits will dramatically extend its lifespan and keep it shining.
1. Daily & Weekly Cleaning
Sweep or vacuum regularly using a soft-bristle attachment to prevent dust build-up. For mopping, use lukewarm water with a few drops of mild detergent. Avoid soaking the floor; the moisture should evaporate within minutes.
2. Protect Against Scratches
Place felt pads under furniture legs and avoid dragging heavy objects. Use doormats at entrances to catch grit. For office chairs, switch to rubber wheels or add a clear floor protector mat.
3. Manage Sunlight and Heat
Prolonged exposure to direct sunlight can fade vinyl. Use blinds or UV-filtering window films in bright rooms. Keep indoor temperature stable between 18–27 °C (65–80 °F) to prevent expansion issues.
4. Handle Spills Immediately
Wipe spills as soon as they happen. Even though vinyl is waterproof, standing moisture can seep into joints or under edges over time.
5. Deep Cleaning (Every 3–6 Months)
Use a specialised vinyl floor cleaner or a diluted vinegar-water solution (1:10). Never use abrasive pads, wax, or steam mops; they can dull or warp the protective wear layer.
6. Refreshing Dull Areas
For older floors that have lost their sheen, apply a vinyl polish or restorer with a microfiber applicator. Let it dry completely before walking on it.
Expert Insight: Vinyl doesn’t need waxing ever. The factory wear layer already has built-in UV protection and gloss retention. Proper cleaning, not coating, is what keeps it looking new.


