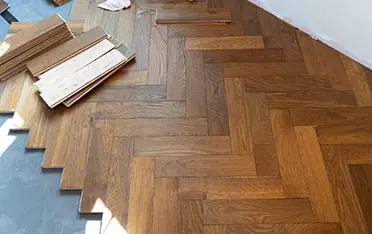
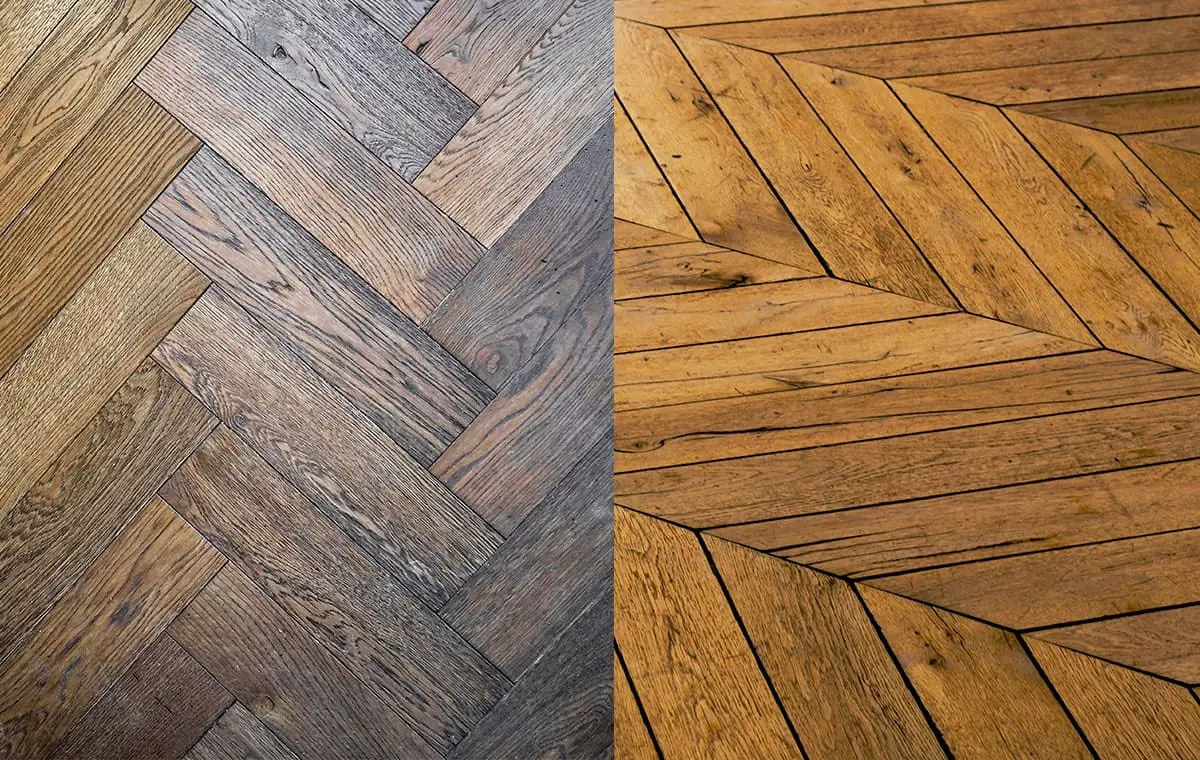
Looking to give your home the natural, timeless look of solid wood flooring at a more affordable price without high maintenance? Engineered wood flooring may be the right choice. With a real hardwood top layer and a smart multi-layer core made of plywood or HDF, it offers the elegance of real wood with enhanced durability and moisture resistance. In this guide, we’ll walk you through the four most common methods for installing engineered wood flooring, step by step. Whether you’re planning a DIY project or hiring a professional, knowing how to install engineered wood flooring can give you a better overview of the process and help you achieve flawless results
Common Installation Methods
Depending on the subfloor, there are four methods for installing engineered wood flooring: glue down, nail or staple down, and float. Whichever method you choose, you will need to prepare the subfloor by cleaning, levelling, checking, and adjusting the door gap.
Nail Down
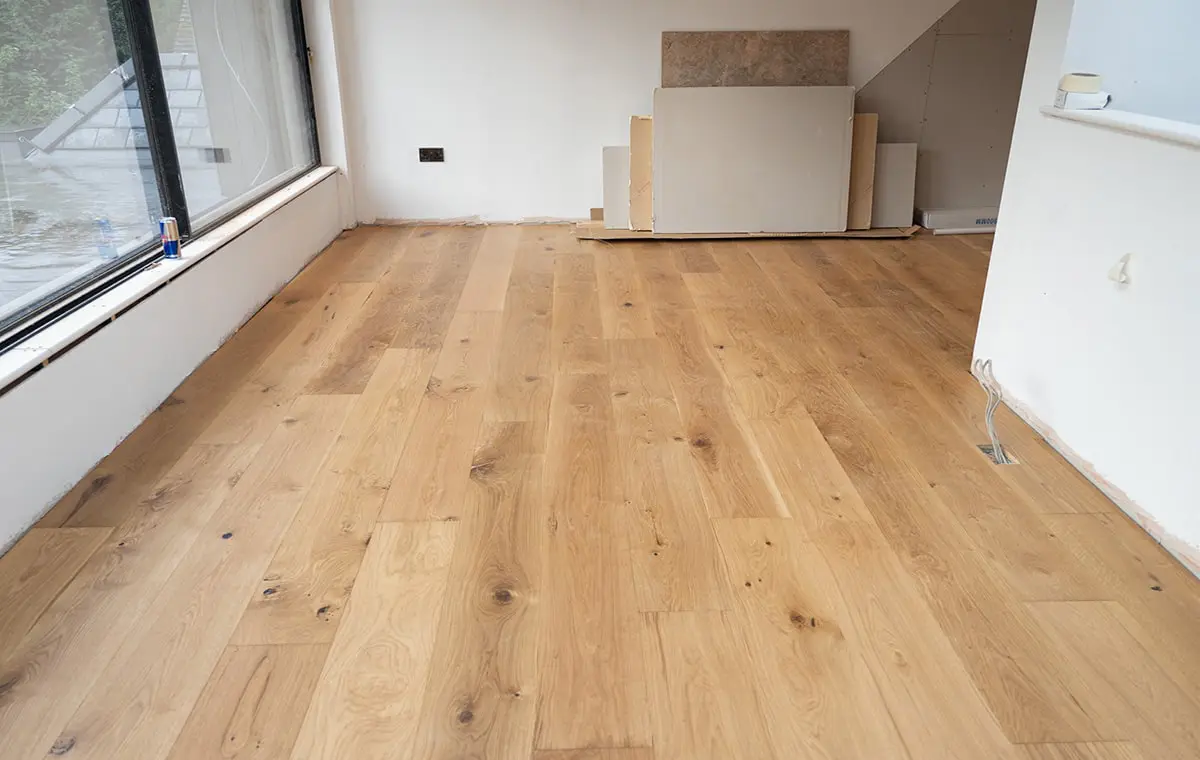
Nailing down engineered wood flooring is a traditional method that ensures a secure and long-lasting installation. This technique is ideal for wooden subfloors and is commonly used by professional installers because it requires specific tools and skills.
Stapling Down
Installing with staples is very similar to nailing, except that stapling requires inserting the staples into the tongue at a 45-degree angle. Additionally, stapling is generally a quicker method than nailing.
Glue-Down
The glue-down method is ideal for wood and concrete subfloors, especially for high-traffic areas, as it ensures a permanent bond between the boards and the subfloor. It is also recommended as the more suitable option for installing engineered wood flooring in areas with underfloor heating.
Floating
The floating floor installation method is a common choice for engineered wood floors. In this DIY-friendly method, the planks are interlocked together using either a tongue-and-groove system (T&G) or a click-lock system. The T&G method requires glue to lock the planks in place, while the Click-Lock method allows the planks to lock into place without adhesive. When the floor expands, the entire floor moves together as one unit.
Preparing for Engineered Wood Installation
By now, we’ve explored the different methods of installing engineered wood flooring and how each works. Regardless of your chosen method, there are a few essential preparation steps to take before you begin. Below are the key steps to prepare your space for installation.
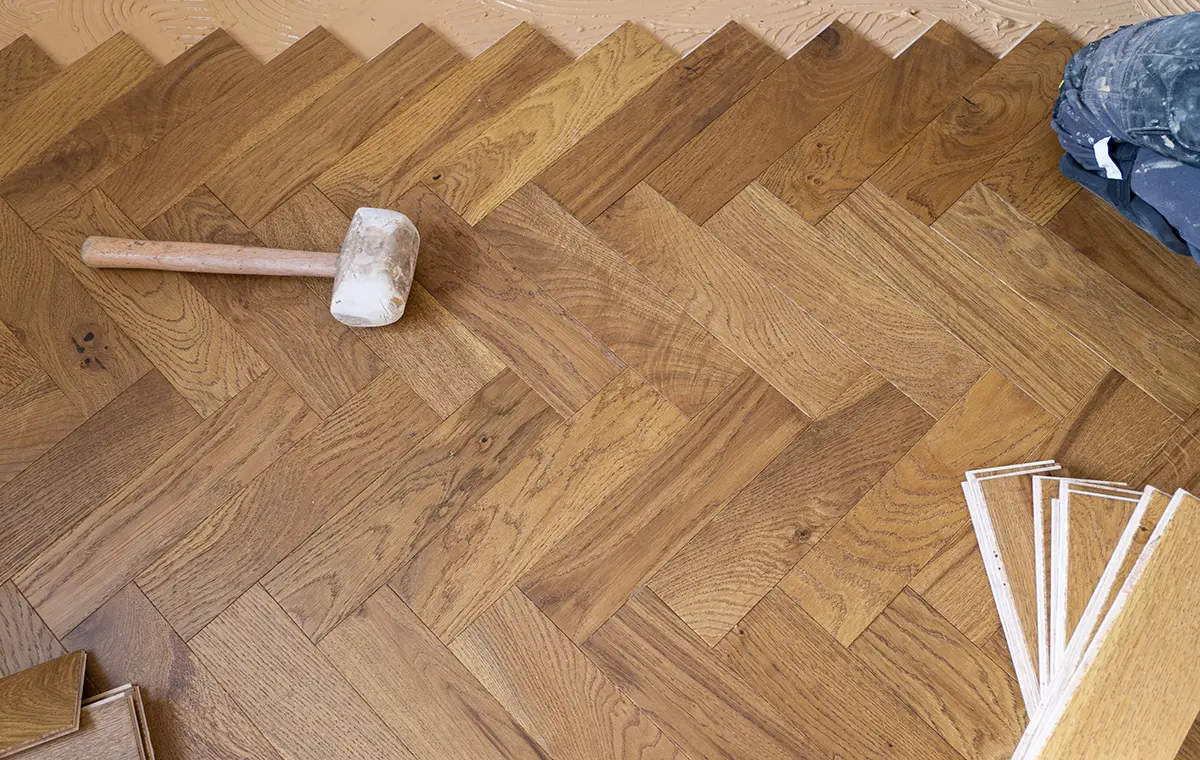
Tools
To ensure that your flooring installation is done correctly, you should first take the following steps:
Essential for All Installation Types
- Tape measure
- Pencil or pen
- Spirit level (2m recommended)
- Ruler
- Safety glasses
- Cleaning gloves
- Bucket
- Knee pads
- Spacers (¼ inch recommended)
- Rubber mallet
- Tapping block
- Pull bar
- Hand saw or electric chop saw
- Jigsaw (for detailed cuts)
- Floor transitions and mouldings
- Matching wood sealant
- Moisture metre (recommended for checking subfloor moisture levels)
- Underlay (if required)
Additional for Floating Installation
Wood glue
Additional for Glue-Down Installation
- Flexible wood flooring adhesive
- Trowel (for spreading glue)
Additional for Nail/Staple Installation
- Flooring nailer or staple gun
- Nails or staples
- Nail punch
you can buy engineered accessories from Flooring surgeon:
Underlay for engineered flooring
Measuring the room
To determine how many engineered wood planks you’ll need, measure the length and width of your room in metres. Multiply these two numbers to calculate the total square metres. Then, check how many square metres are covered by one pack of flooring—this is usually stated on the packaging. Divide your room’s total area by the pack coverage to determine how many packs you need. Adding an extra 5–10% is wise to allow for cuts, mistakes, and future repairs.
Read more: How to Measure a Room for Flooring (Step-by-Step Guide)
Preparing the subfloor
Before installing, make sure the subfloor is ready for the new flooring. Remove any skirting boards, old nails or staples and loose dirt.
Check the humidity
In UK homes, a relative humidity of 45-65% is considered normal. Timber-based and concrete subfloors should have a moisture content (MC%) of no more than 12% when tested with a prong meter or below 3% when measured with a concrete moisture metre. As different metres may use varying scales, it is essential to read the manufacturer’s instructions. In addition, the subfloor should be level and not vary more than 3mm in a one-metre span to create a smooth and stable surface suitable for flooring installation.
Checking the Package
Carefully open a package and check that the planks’ colour, quality, and finish are as expected. Ensure each flooring is intact before installation, as the supplier may not replace the wood flooring afterwards.
Acclimatise the Planks
Once you have approved the flooring’s condition, you must acclimate it to the environment. Engineered wood expands and contracts with temperature changes, which can cause the floor to buckle if not properly adapted. Keep the planks flat in the room for 48 to 72 hours. During this time, ensure the room’s temperature and humidity align with the manufacturer’s guidelines.
Stack the planks in piles of no more than three, leaving at least 4cm of space between each stack to allow for proper air circulation. If your flooring will be laid over underfloor heating, place the planks directly on the floor and spread them out individually. Begin by running the heating at a low, comfortable temperature, then increase it by 2°C every two days until you reach your desired maximum. After that, the temperature is gradually lowered by 2°C every two days until it reaches the minimum comfortable level.
Installation Methods
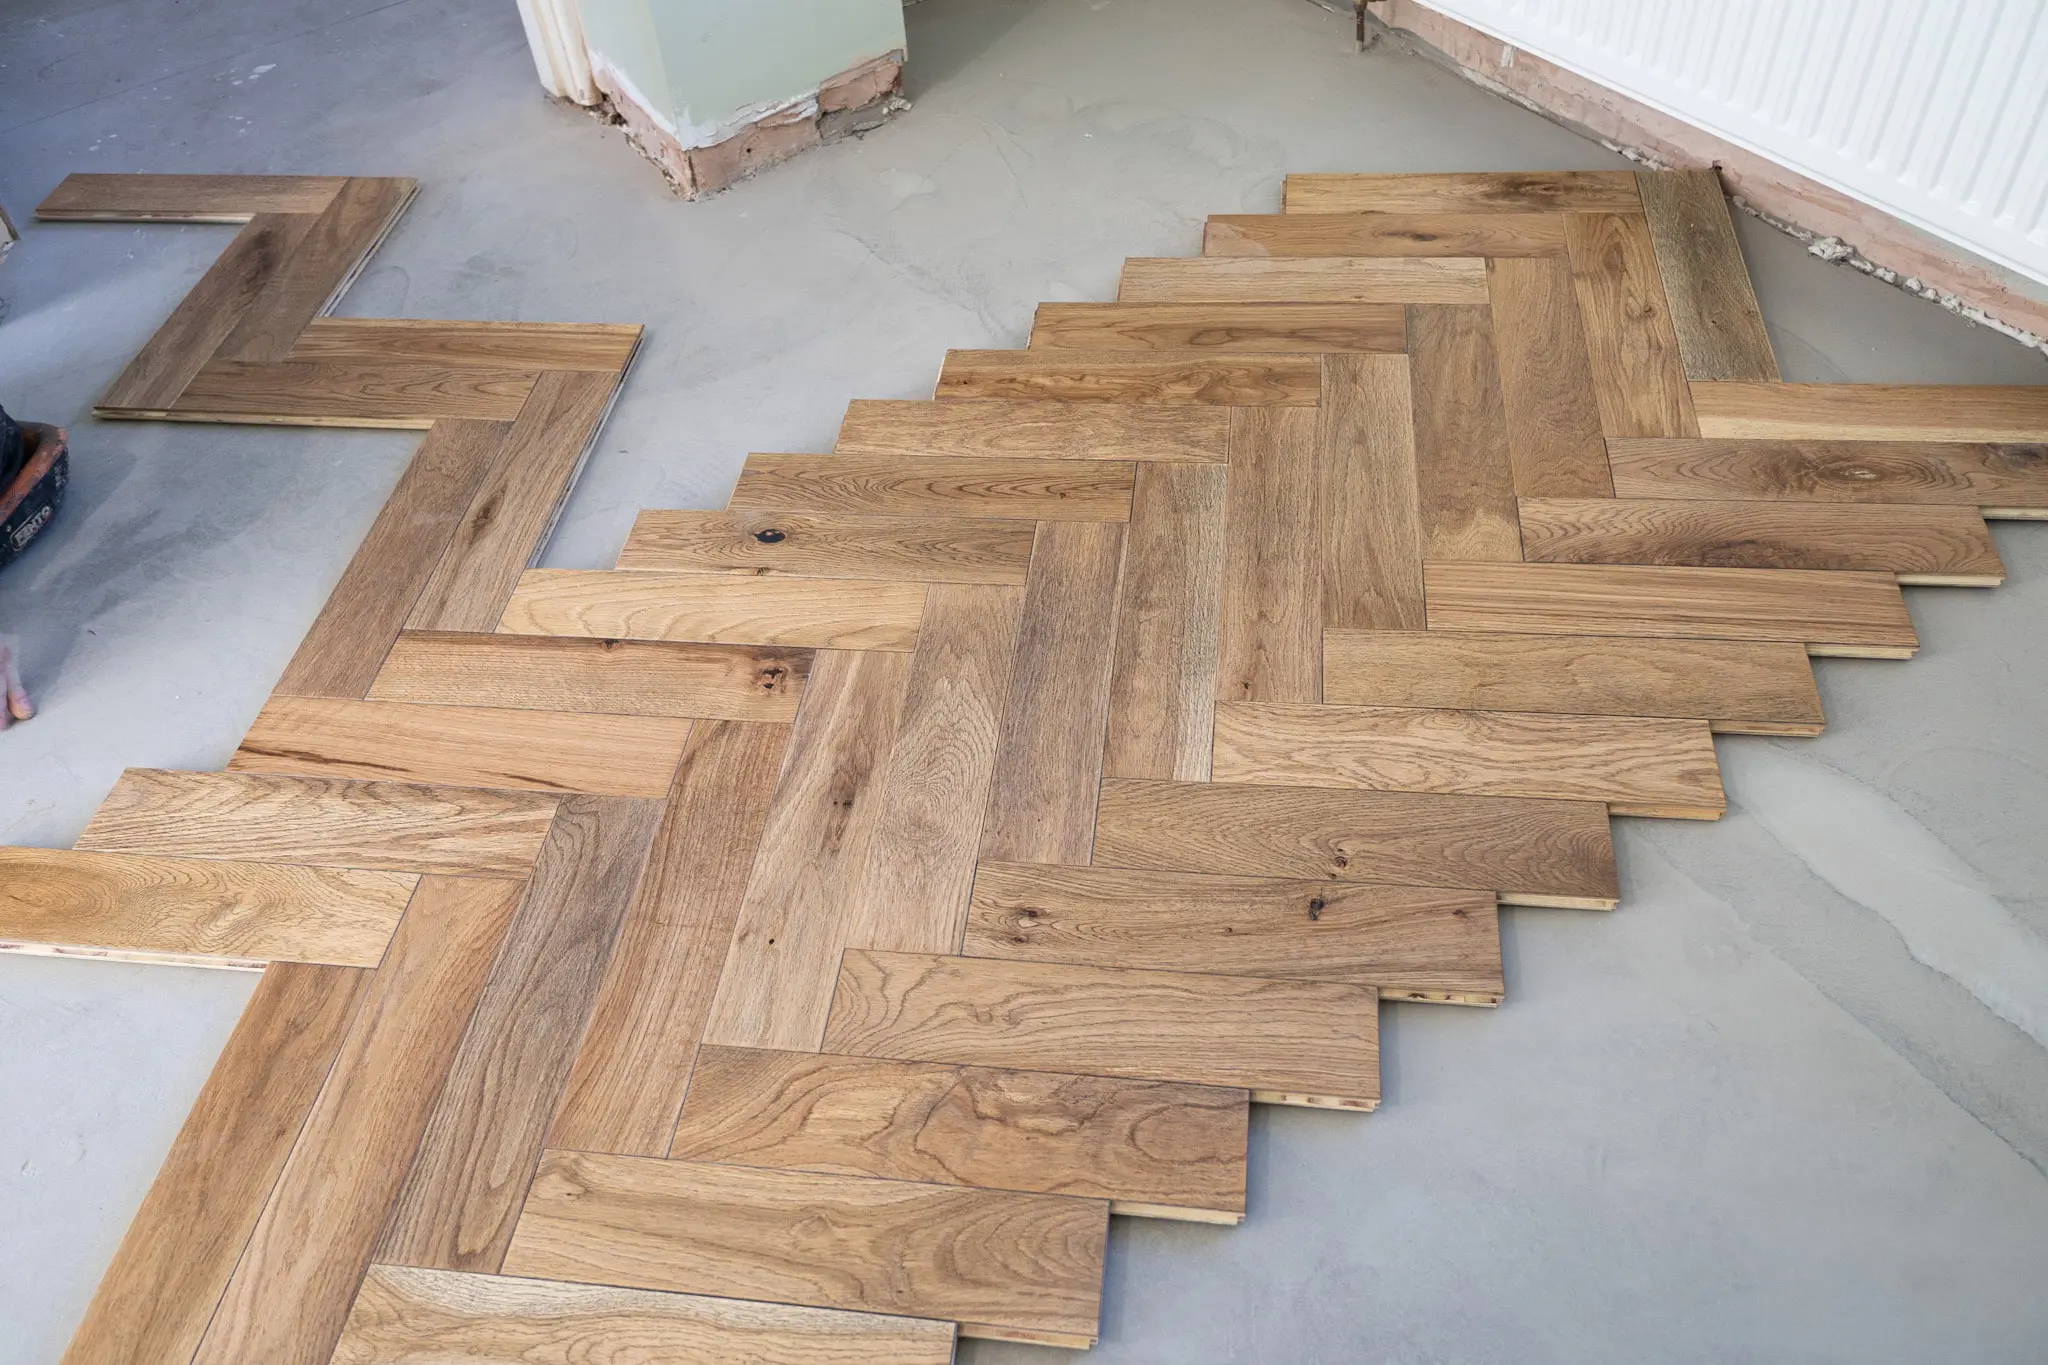
We will explain each method step by step below:
Nailing down
Start by placing spacers around the room, leaving a ¼” gap between the wall and the planks. This gap allows the wood to expand.
First Row
Begin by positioning the plank with the tongue facing towards the centre of the room. Pre-drill holes near the wall, about 1 inch away and 3-4 inches apart. Pre-drilling helps prevent the wood from cracking and makes it easier to insert the nails. Secure the planks by nailing through the tongue with finishing nails.
Countersink Nails
After nailing the planks, use a nail punch to drive the nails below the surface for a cleaner finish.
Fill Nail Holes
Once the nails are countersunk, fill the holes with wood putty that matches the colour of the planks to ensure a seamless look.
Cutting Planks
When you reach the end of a row, measure the gap, mark it, and cut the plank to fit. Use leftover pieces (at least 6 inches long) to stagger the seams in the next row.
Installing Subsequent Rows
For each new row, position the planks at an angle above the tongue and nail them into place using a nail gun. Be sure to countersink the nails to avoid disrupting the tongue-and-groove connection between the planks.
Installing Around Obstacles
When installing around obstacles, carefully measure and mark the area. Using a jigsaw, cut the boards exactly around the barriers, leaving a small expansion gap. For pipes, drill a hole in the board, fit it around the pipe, and firmly nail it. Ensure that the nails are driven vertically through the tongue of the board for a clean look. Always leave a small expansion gap around the edges for natural wood movement.
Finishing Up
Continue installing planks until the entire floor is covered. Once finished, remove the spacers and add transition strips and moulding if desired.
Read more: How to install solid wood
Glue-Down Method

The Glue-Down Method requires special adhesives. EWG recommends that is better the adhesive used be free of volatile organic compounds(VOCs). For best results, check the manufacturer’s instructions for the recommended type of adhesive. To start the installation, Place spacers between the wall and the planks to leave a ¼” expansion gap around the room’s perimeter.
Apply the Adhesive
Starting at the corner of the room, spread the adhesive onto the subfloor for two to three rows, then use a trowel to create a thin, even layer.
The First Row
Align the tongue and groove edges, working from left to right. Press the boards firmly into place.
Continue Installation
Keep applying glue in small sections and tap each plank into place, ensuring the seams are tight.
Around Obstacles
After measuring, cutting the boards, and leaving a small expansion gap for the obstructions, apply adhesive to the subfloor in small sections and press the boards into place. Use a tapping block and rubber mallet to attach each board firmly.
Finish the Installation
Remove spacers and install transition strips and moulding along the edges.
Stapling Down

The stapling method is similar to nailing but uses staples instead of nails. Here’s how it works:
First Row
Like nailing, place spacers and position your first row of planks. Measure and pre-drill if needed.
Stapling the Planks
Use a staple gun to drive staples at a 45-degree angle above the plank’s tongue. Place staples every 3-4 inches along the plank.
Countersinking and Filling
After stapling, countersink any staples and fill holes with matching wood putty, just like with nailing.
Continue Installation
Staple each subsequent row, ensuring staples are placed correctly and at the right angle.
Installing Around Obstacles
Stapling installation around obstacles is similar to the nailing method. The key difference is that when stapling the planks, the staples should be placed at a 45-degree angle above the tongue, ensuring they don’t interfere with the tongue-and-groove system. Unlike nails, staples should be placed more precisely, especially near the edges, to avoid damaging the wood.
Finishing Up
Remove spacers and add transition strips and moulding.
Floating Tongue and Groove and Click-Lock
Place spacers between the wall and the boards to create a ¼-inch expansion gap around the perimeter of the room
First Row
Position the first plank in the corner of the room, working from left to right. For Tongue and Groove, apply the recommended glue in the groove of the plank, then insert the tongue of the next plank into the groove, ensuring they lock together tightly.
For Click-Lock, insert the tongue of the plank into the groove of the next plank at an angle, then push it down until it clicks into place.
Continue the Rows
Connect the planks similarly for each subsequent row. If you’re using the T&G method, apply glue to the groove of the next plank before inserting it. For Click-Lock, the planks will click together.
Cut the Last Plank
When you reach the end of a row and there’s not enough space for a full plank, measure the gap between the last plank and the wall, mark the plank, and cut it to size. (Refer to the earlier section on cutting planks for cutting instructions.)
Stagger the Joints
Start the next row using the leftover pieces from the previous row (at least six inches long). This helps to stagger the joints, giving the floor a more natural and aesthetically pleasing look.
Lock the Planks into Place
Continue to interlock the planks, using a tapping block and rubber mallet to ensure a tight fit between the seams.
Around Obstacles
After measuring and cutting, glue it into the groove and insert it into the tongue. For a click lock, angle the board and click it around the obstruction. Leave a gap for expansion to ensure a clean and secure fit.
Final touch
As you move toward completing the floor, remove the spacers around the edges. Once all the rows are installed, add your transition strips and moulding as needed.
Tips for flawless installation
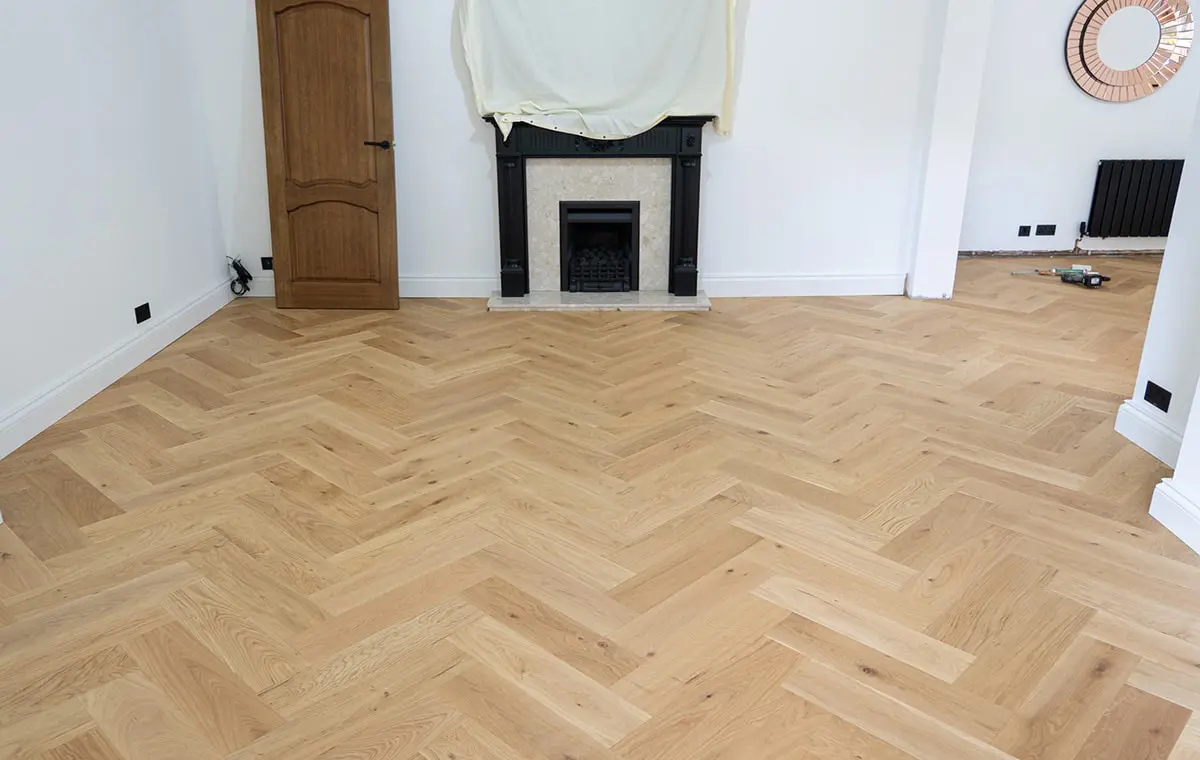
To perform a professional and stable installation, be sure to consider these tips:
- In all methods, wait at least 24 hours after installation before placing furniture and appliances on the floor.
- An expansion gap for engineered wood flooring is essential. We recommend 10 to 12mm around your installation perimeter, including all obstacles.
- The maximum recommended length for installing engineered wood flooring is 7m in any direction. If you plan to install it over a longer distance, include expansion gaps in areas like doorways.
- If you plan to use a floating installation, heavy fitted units or furniture (more than 200kg when loaded) should not be installed on top of or fixed to Engineered flooring. This can restrict movement, causing the floor to peak.
- Oiled wood floors often require a fresh coat of oil after installation. Natural oils will be absorbed into the wood before installation, so a
- A fresh coat of wood flooring oil after installation is recommended for the best finish.
Although we have tried to provide a detailed guide to the various engineered wood flooring installations in this article, there are many installation tips. At the Flooring Surgeons, we help you with stylish and professional flooring. So contact us now for advice and purchase the best-engineered flooring in various colours and thicknesses.
For any flooring queries, drop us an email at info@flooringsurgeons.co.uk – or Visit our showrooms located in Birmingham & Wolverhampton!
Halesowen
214A Dudley Road. Halesowen, Birmingham, B63 3NJ
0121 274 8575
Monday – Friday: 9 AM – 6 PM | Weekends: 10 AM – 4 PM
Wolverhampton
317 Penn Rd, Wolverhampton, West Midlands, WV4 5QF
01902 836666
Monday – Friday: 9 AM – 6 PM | Sat: 10 AM – 4 PM | Sun: Closed
info@flooringsurgeons.co.uk
fitting@flooringsurgeons.co.uk
customerservices@flooringsurgeons.co.uk


