You clean luxury vinyl flooring stains the right way by using vinyl-safe cleaners, a damp mop, and gentle techniques that lift marks without dulling or damaging the surface — and this guide shows you exactly how to do it from step one.
Most people search for this question because they’re already dealing with one of these problems:
• stubborn stains that won’t budge no matter how much you scrub
• greasy marks, food spills, or shoe scuffs stuck on the surface
• cloudy patches caused by using the wrong cleaning products
• fear of damaging their LVT by using steam mops or harsh chemicals
This article is written to help with all of that. You’ll learn how to:
Remove fresh and ground-in stains safely.
Choose the right vinyl-safe floor cleaner.
Avoid the mistakes that permanently damage LVT.
Keep your vinyl looking bright, clean, and streak-free with almost no effort.
If you have luxury vinyl flooring — especially in a busy kitchen, hallway, or family home — this guide will save you time, money, and frustration. A single wrong product can dull your floor, but a few simple steps can keep it looking new for years. Ready to clean your LVT safely and adequately? Let’s begin.
General Cleaning and Maintenance for Vinyl Plank Floors
Keeping vinyl plank floors clean is much easier than most people expect — you just need a simple routine that protects the surface rather than wears it down. When you follow the proper steps, vinyl stays bright, smooth, and low-maintenance for years, even in busy family homes.
Daily Care Routine to Clean Vinyl Plank Floors Without Damage
The safest daily routine for vinyl plank floors is surprisingly basic: remove dust before it becomes microscratches. Most marks on LVT don’t come from spills — they come from tiny grit that gets dragged under shoes.
Here’s the routine that actually works in the real world:
- Sweep with a soft-bristle broom once a day (it lifts dust without scraping the surface).
- Vacuum on hard-floor mode every few days. The key is using a vacuum without a rotating brush, so it doesn’t leave swirls.
- If you’ve got pets, do a quick 30-second sweep after feeding times — pet food crumbs cause more dull spots than people realise.
Why this routine matters:
Most homeowners clean vinyl too late, when dirt has already bonded with the surface. Removing it early keeps the floor looking new without aggressive scrubbing—the easiest form of vinyl plank flooring maintenance.
Why a Damp Mop Is the Safest Method for Everyday Vinyl Floor Cleaning
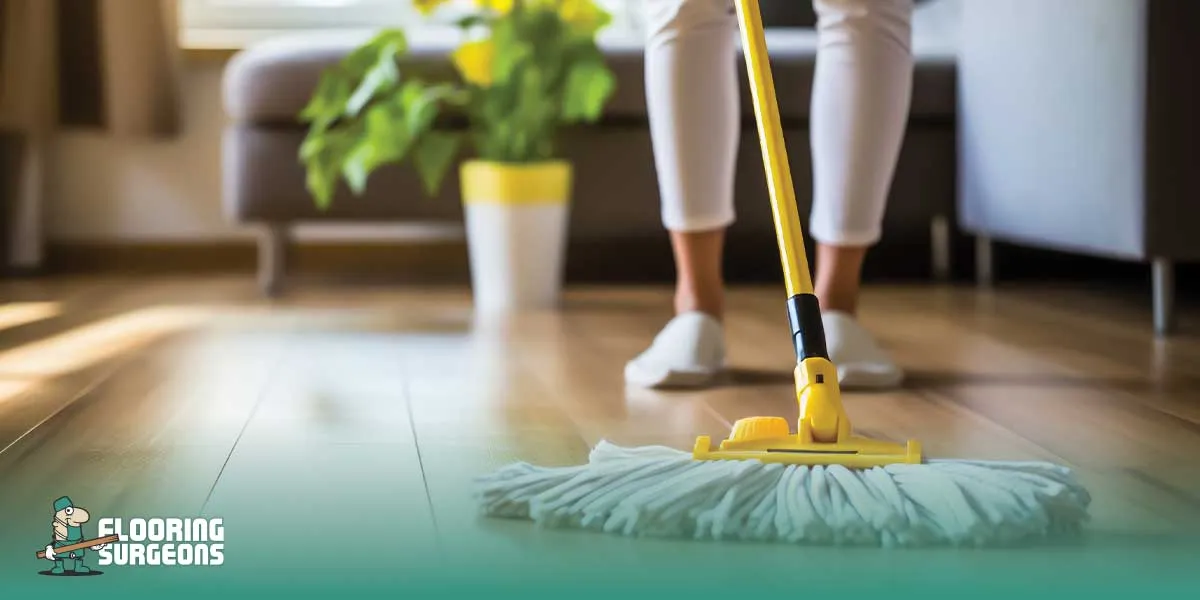
A damp mop — not a wet one — is the safest everyday method because vinyl only needs light moisture to lift everyday grime. Too much water sits on the surface, pushing dirt into the plank’s tiny texture.
A proper damp-mop clean looks like this:
- Wring the mop until it’s almost dry
- Use warm water with a tiny drop of gentle detergent.
- Mop in straight lines, not circles (circles leave streaks)
- Let it air dry for a few minutes — vinyl dries fast.
This method is ideal if you’re searching for how to clean vinyl plank floors without leaving cloudy patches. Steam, bleach, and soaking the floor all do the opposite—they slowly break down the surface finish. If you want to understand how the layers beneath your floor react to moisture during cleaning, this vinyl underlay guide gives a clear breakdown of which setups are safest.
Safe Cleaning Products for Vinyl Plank Floors You Can Use Every Day
Vinyl is tough, but the wrong cleaner can dull it quickly. The safest daily products are those made specifically for vinyl — usually labelled “vinyl-safe” or “LVT cleaner”.
Here’s what actually works without harming the finish:
pH-neutral vinyl floor cleaner
Keeps the surface clear without stripping the protective layer.
A mild, vinegar-free solution
Vinegar feels natural, but the acidity slowly fades the floor’s shine — something most homeowners only notice months later.
Warm water + tiny drop of dish soap
A cheap, gentle option for quick daily cleans.
Avoid:
- Steam mops (they push moisture into the seams)
- Bleach or ammonia (they create cloudy patches)
- Polish products made for wood (they make vinyl slippery)
When you use the right products every day, you don’t need deep cleaning at all — the floor stays bright just through good, simple habits.
How to Clean Vinyl Plank Floors with Ground-In Dirt and Tough Stains
Ground-in dirt and tough stains on vinyl plank floors come off best when you combine surface loosening, vinyl-safe cleaners, and gentle removal methods. Vinyl is durable, but the protective wear layer can trap dirt in its texture — so the goal isn’t to scrub harder; it’s to clean smarter. Here’s how to remove even the stubborn stains most guides don’t explain properly.
LVT Stain Removal Methods for Common Household Spills
When stains won’t lift — whether it’s dried food, muddy footprints, makeup, tea, or oil — the problem is nearly always the same: the dirt has settled into tiny grooves of the vinyl texture. The cleaning method below targets surface release, not “hard scrubbing”, which keeps vinyl looking new longer.
Step 1 — Clear loose dirt so you don’t scratch the vinyl
Before cleaning any stain, always sweep and vacuum vinyl floors. This isn’t optional. Dirt particles work like sandpaper when you add moisture.
Use:
- A soft-bristle broom for surface dust
- a hard-floor vacuum setting (brush bar OFF) for tiny grit
This alone prevents 70% of the micro-scratches homeowners complain about.
Step 2 — Soften the stain so it lifts easily
Place a warm, damp microfibre cloth on the stain for 2–5 minutes. This loosens dried food, grease, sugary spills, and sticky residue.
Why this works: Vinyl doesn’t absorb liquid, so stains cling to the surface — softening them allows the dirt to detach without damaging the wear layer.
Step 3 — Choose the proper stain-removal technique based on stain type
Food & drink stains (tea, coffee, fruit juice, wine)
Use:
- Warm water + a drop of washing-up liquid
- Wipe with straight, light movements.
Greasy stains (oils, butter, cooking splashes)
Use:
- A pH-neutral vinyl floor can be cleaned lightly with a damp cloth
Mud, dirt, playground grime
Use:
- a damp mop + vinyl-safe cleaner
- Finish with a dry microfibre cloth for shine.
Makeup, pen, crayon, marker
Use:
- A melamine sponge (magic eraser), VERY gently
- No aggressive scrubbing — melamine is micro-abrasive
Sticky stains (tape residue, glue spots, spill build-up)
Use:
- a warm cloth + mild dish soap
- Optional: a tiny amount of isopropyl alcohol, then rinse
Avoid for ALL stain types:
- bleach
- scouring powders
- steel sponges
- acetone/nail polish remover
- steam mops (avoid steam mop vinyl — always)
These break down the protective wear layer, leaving permanent dull spots.
Cleaning LVT Flooring with Vinegar — When It Works and When It Doesn’t
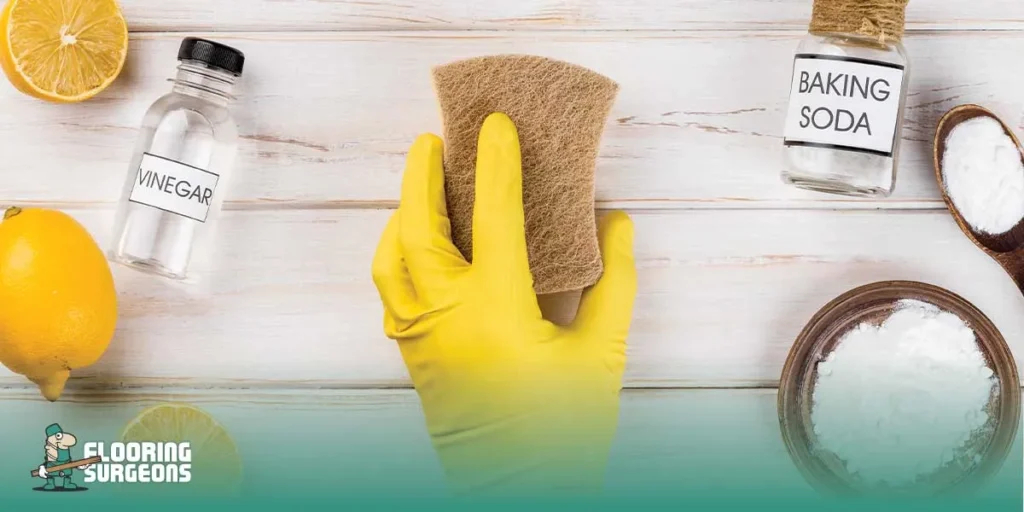
Most guides falsely claim vinegar is “perfect for vinyl”, but that’s only partly true. Vinegar CAN help in some instances, but only when diluted and used sparingly.
When vinegar actually works with Light ‘ n Bright grease around the cooker areas
- surface fingerprints
- Mild smudges that make the floor look cloudy
- deodorising pet-accident areas
Safe vinegar mixture
1 cup white vinegar + 4 litres warm water
This is the absolute maximum strength.
The mop should be damp, not wet.
When vinegar is NOT suitable
And this is where most damage happens.
Do NOT use vinegar for:
- Ground-in dirt (it won’t lift)
- dried paint, heavy grime, or sticky residue
- deep stains
- scuff marks
- built-up cleaning product residue
Why?
Vinegar is acidic. Over time, it dulls the top seal, causing:
- cloudiness
- streaking
- uneven shine
- permanent colour fading in patches
Rule of thumb:
Use vinegar only when nothing else is available — and always rinse with a fresh, damp mop to neutralise the acidity.
The Best Vinyl Floor Cleaner Liquid for Deep Cleaning
For deep cleaning, only use products specifically made for vinyl. They break down grime without stripping the protective polyurethane layer. Here are the best vinyl floor cleaner liquid options in the UK, recommended by installers and manufacturers:
- Dr Beckmann Hard Floor Cleaner
- pH-neutral
- safe for all LVT
- great for kitchens and food stains
Method Hard Floor Cleaner (Wild Rhubarb)
- plant-based
- no residue
- ideal for families with kids & pets
Rejuvenate Luxury Vinyl Floor Cleaner
- designed specifically for LVT
- Restores shine without polishing.
- Great for older floors
Bona Hard Surface Cleaner
- non-toxic
- streak-free
- excellent for large areas
How to deep-clean vinyl the correct way
Follow this exact process for best results:
- Sweep and vacuum vinyl floors thoroughly
- Mix your chosen vinyl floor cleaner as directed.
- Apply using a microfiber mop.p
- Damp mop vinyl floors, never wet mop
- Allow to air dry (vinyl dries fast)
Pro Tip
If your vinyl has a light “greasy shine” after months of cooking or product build-up, mop once with warm water only, then again with your vinyl cleaner.
This clears residue and resets the natural finish.
What is never to be used during deep cleaning
These harm vinyl over time:
- steam mops (heat + pressure = seal damage)
- Wood polish or wax (makes vinyl slippery + attracts dirt)
- Bleach or ammonia (breaks down colour & coating)
- furniture wipes or “multi-purpose shine” sprays
Using the wrong cleaner even twice a month can age vinyl by years.
What You Should Never Use to Clean Vinyl Plank Floors
The quickest way to ruin vinyl plank floors is by cleaning them with products or tools that slowly eat away at the protective wear layer. Even though vinyl is designed to handle busy homes, kids, pets and heavy foot traffic, the wrong cleaning routine can make the surface dull, scratch-prone and harder to maintain over time. That’s why knowing what not to use is just as important as knowing how to clean correctly. With a simple routine of sweeping, vacuuming and gentle cleaning products, vinyl stays spotless without risking long-term damage — but only if you avoid the common mistakes below.
Why You Should Avoid Steam Mops on Vinyl Flooring
Steam mops might look like an easy all-in-one solution, but they’re one of the main reasons vinyl floors lose their finish early. Steam pushes intense heat and moisture directly into the seams of the planks, and vinyl isn’t built to handle that combination. While the surface appears waterproof, the joints and edges can’t withstand steam, and the constant heat slowly softens the wear layer that protects the floor from scratches. Over time, this leads to warping, bubbling, lifting around the edges and a general “tired” look that no amount of gentle cleaning can reverse. The safest option is far simpler: keep things dry and controlled. A quick sweep and vacuum removes the grit that causes micro-scratches, and a light, damp mop is more than enough for everyday cleaning without risking structural damage.
Products That Damage Vinyl Floors (Bleach, Abrasives, Wax-Based Polishes)
The second most significant cause of vinyl floor damage comes from everyday household cleaners that seem harmless but are actually the worst thing you can apply. Strong chemicals like bleach and ammonia strip away the protective seal, leaving faded, patchy areas that never match the original tone again. Abrasive powders and rough scrubbing pads instantly scratch the surface, and once the finish is marked, dirt begins settling into the grooves, making proper vinyl flooring stain removal much harder.
Wax-based polishes and wood floor shine sprays create a different problem entirely. They’re formulated for timber, not vinyl, and they leave a cloudy, sticky film that attracts dust and pet hair. After a few uses, the floor starts looking dull and streaky, and removing the built-up residue becomes a job in itself. Even everyday products like furniture sprays or strong washing-up liquid can leave behind films that make the floor feel tacky and more likely to collect dirt. The safest approach is always the simplest: gentle cleaners clearly labelled for vinyl, paired with regular sweeping, vacuuming, and light mopping. These keep your LVT clean without breaking down the finish or causing long-term issues. As long as you avoid harsh chemicals, waxes, abrasives and steam, your vinyl floors will stay looking fresh and smooth for years — even in a busy family home.
How to Remove Stubborn Luxury Vinyl Flooring Stains Step-by-Step
Tough stains on luxury vinyl flooring usually stay in place, not because the floor is “ruined”, but because the dirt has settled deep into the tiny grooves of the wear layer. The good news is that LVT doesn’t absorb stains, so even the most stubborn marks can be lifted with the proper routine — as long as you work gently and follow a method that protects the coating.
Step-by-Step Routine for Removing Ground-In Dirt from Vinyl Floors
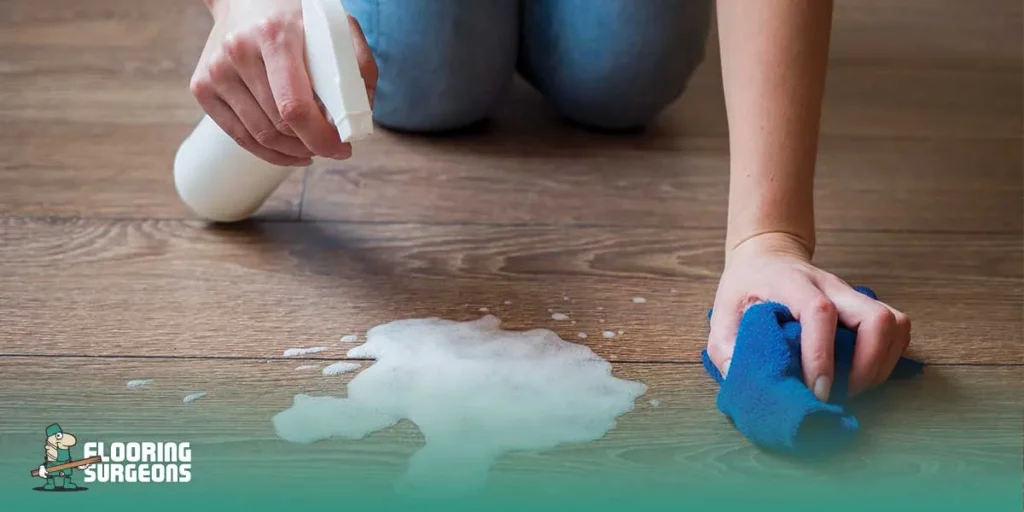
Ground-in dirt on vinyl plank floors usually happens when dusty footprints, food crumbs, or outdoor mud are pressed into the surface before cleaning. The trick isn’t scrubbing harder — it’s loosening the dirt so it releases without damaging the coating.
Step 1 — Clear loose dust so you’re not rubbing grit into the floor
Start with a quick sweep or vacuum on a hard-floor setting. Even tiny bits of grit can create hairline scratches if you apply moisture on top.
Step 2 — Soften the dirt before cleaning
Place a warm, damp microfibre cloth over the affected area for two to three minutes. This loosens the dried dirt and breaks its grip on the vinyl’s textured surface.
Step 3 — Use a vinyl-safe cleaner to lift the residue
Apply a small amount of an LVT-safe floor cleaner, then work it in gently with a soft cloth. You don’t need pressure — the warmth and moisture have already done the hard part.
Step 4 — Rinse lightly and let the floor dry naturally.
Use a clean, damp cloth to wipe away any remaining cleaner. A dry microfibre cloth at the end will restore the natural finish without streaking. This routine safely clears ground-in dirt without scratching or dulling the wear layer, and it works far better than using harsh chemicals or scrubbing pads.
How to Safely Lift Old, Set-In Stains Without Damaging LVT Coating
Old stains on vinyl flooring look intimidating, but they’re rarely permanent. Because LVT is non-porous, even dried tea, coffee, grease, juice or sticky spills sit on the surface — they just harden over time. The key is breaking down the residue slowly so the coating stays intact.
To lift older stains, start by warming the area with a damp cloth to soften the buildup. Then use a mild, pH-neutral vinyl floor cleaner and wipe in straight, controlled motions. Avoid circular scrubbing — it pushes the stain deeper into the texture. For really stubborn marks like lipstick, crayon or pen, a melamine sponge can work, but only with the lightest touch, as it has micro-abrasive properties. Always test a tiny spot first.
After the stain loosens, rinse the area with a damp microfibre cloth and let it air dry. If any faint residue remains, repeat the process instead of increasing pressure. Vinyl responds better to time and gentle cleaning than to aggressive scrubbing. With the right approach, even old stains lift cleanly — and your LVT keeps its original finish without any dull patches or coating damage.
Vinyl Floor Polishing — When You Should (and Shouldn’t) Do It
Most homeowners assume vinyl floors need polishing when they start to look a bit dull, but polishing LVT is very different from polishing wood or laminate. Vinyl doesn’t have an exposed natural surface — it has a protective wear layer that keeps it shiny on its own. So the real question isn’t how to polish vinyl, but whether you should polish it at all. In most cases, the shine people are trying to restore can be brought back through proper cleaning, not actual polishing. The key is using methods that protect the wear layer rather than covering it with waxes or coatings that create more problems later.
Vinyl-Safe Ways to Add Shine Without Damaging the Wear Layer
If your vinyl plank floors look a little flat, the safest way to bring back their natural shine is through deep cleaning, not polishing. Most dullness occurs because tiny layers of residue — cooking oils, soap films, dust buildup, and the wrong cleaning sprays — settle on top of the wear layer. Once you properly remove that residue, the original finish returns on its own.
The simplest way to restore shine is to clean vinyl plank floors with warm water and a pH-neutral vinyl floor cleaner. This breaks down the residue without stripping the protective coating. A damp microfibre mop works best because it spreads the cleaner evenly without soaking the edges of the planks. You’ll usually see the floor brighten as it dries, which shows the wear layer is doing its job.
If the floor still looks a bit tired, a second pass with a vinyl-approved cleaner typically restores the finish entirely. This method keeps the surface smooth, streak-free and shiny — and it does so safely, without risking long-term damage.
Why Traditional Floor Polish Is Unsafe for LVT and Vinyl Plank Floors
One of the biggest cleaning mistakes homeowners make is using wood polish, wax, or “shine boosters” on vinyl plank floors. These products are simply not designed for LVT. Instead of enhancing the appearance, they leave behind a sticky film that attracts dust, pet hair and dirt. After a few applications, the floor often looks duller — not shinier — because the residue builds up in uneven layers.
Traditional polish also creates a bigger problem later: once it dries, it becomes extremely hard to remove without harsh chemicals, which can permanently damage the wear layer. This is why most flooring manufacturers — including vinyl brands across the UK — clearly warn against using wax-based or oil-based polishes.
The safest rule is this: if it’s not explicitly labelled for vinyl, don’t use it. LVT is low-maintenance and does not require polishing. A proper cleaning does more for shine than any coating, and it keeps the floor looking newer for far longer.
Long-Term Vinyl Plank Flooring Maintenance for Busy UK Homes
Looking after vinyl plank flooring in a busy home doesn’t have to be complicated — but the secret to keeping it looking new for more than a decade is consistency, not expensive products. Whether you’ve got kids running around, pets dragging in outdoor dirt, or a kitchen that sees constant foot traffic, a simple but smart maintenance routine protects the floor’s wear layer and stops minor issues from turning into long-term damage. Most UK homeowners only clean when the floor already looks dull, but the real difference comes from regular, gentle care that prevents dullness from building up in the first place.
How to Keep Vinyl Plank Floors Looking New for 10+ Years
The easiest way to make vinyl plank flooring last ten years or more is to protect the wear layer — because once that layer stays intact, everything else follows. A quick sweep or vacuum every few days prevents grit from acting like sandpaper, which is one of the main reasons vinyl loses its sheen in busy homes. Pair that with a weekly clean using a pH-neutral vinyl floor cleaner and a damp microfibre mop (never soaking wet), and you already cover 90% of long-term maintenance.
Most floors lose their “freshly installed” look not because of damage, but because residue from soaps, cooking grease, dust and the wrong cleaners slowly settles on top. Doing one deeper clean every month — just warm water plus a vinyl-safe cleaner — clears that build-up and restores the original finish without any polishing. Small habits like using soft felt pads under furniture, keeping shoes at the door and wiping spills quickly also go a long way. The goal isn’t perfection — just a routine that protects the coating from daily wear and tear.
Preventing Wear and Tear in High-Traffic Hallways and Kitchens
High-traffic areas like hallways, entryways, and kitchens are where vinyl floors age the fastest, simply because they take the most impact per square metre. The best strategy is to stop dirt and grit before it reaches the vinyl. A good doormat indoors and outdoors can cut cleaning needs in half. Keeping pets’ paws wiped after walks also prevents the micro-scratches that slowly dull the surface over time — a detail often highlighted in practical care guides from Flooring Surgeons, where long-term maintenance always starts with reducing grit at the source.
In kitchens, the challenge is a mix of spills, greasy film from cooking and chairs dragging back and forth. Placing small rugs in front of the sink or cooker helps catch splashes, and adding felt protectors to chair legs prevents scuffing when they move. In hallways, a quick vacuum every two or three days removes the tiny grit particles that cause hairline scratches. You don’t need to baby your flooring — vinyl is tough — but these small habits reduce wear dramatically without having to think about it.
Explore our full range of LVT and vinyl flooring care guides to help your floors stay clean, bright, and long-lasting — no matter what your home throws at them.


