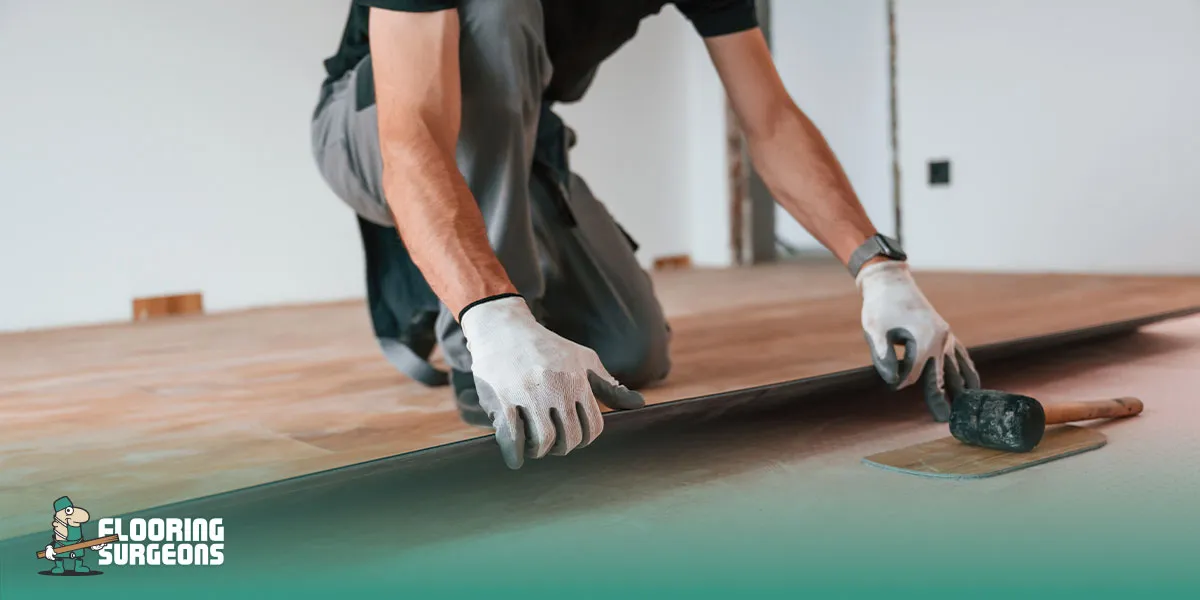
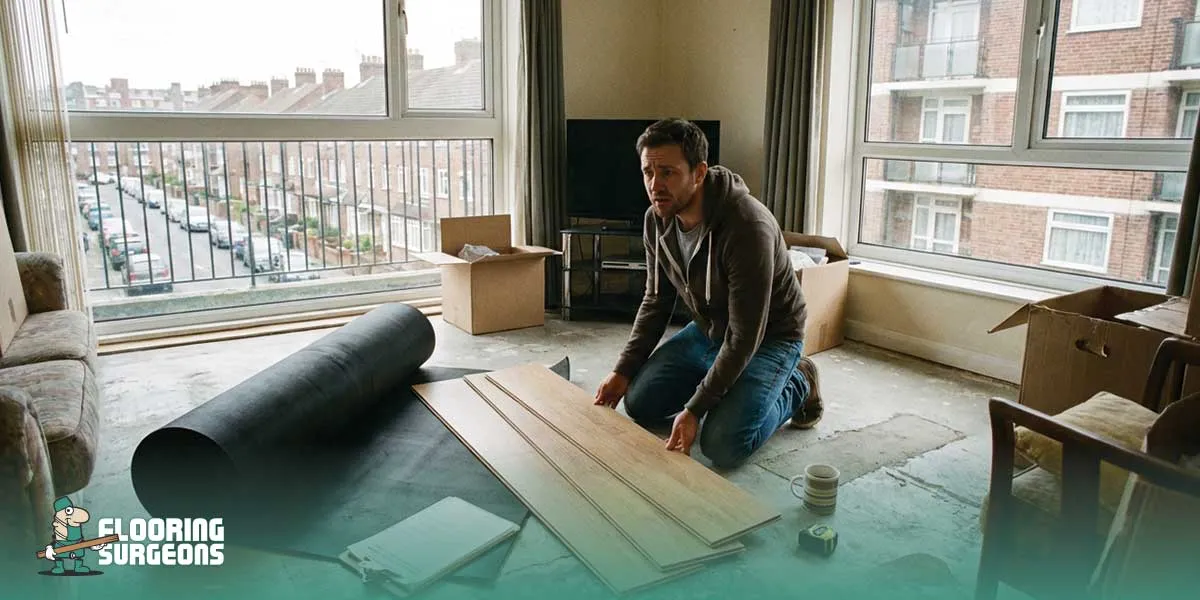
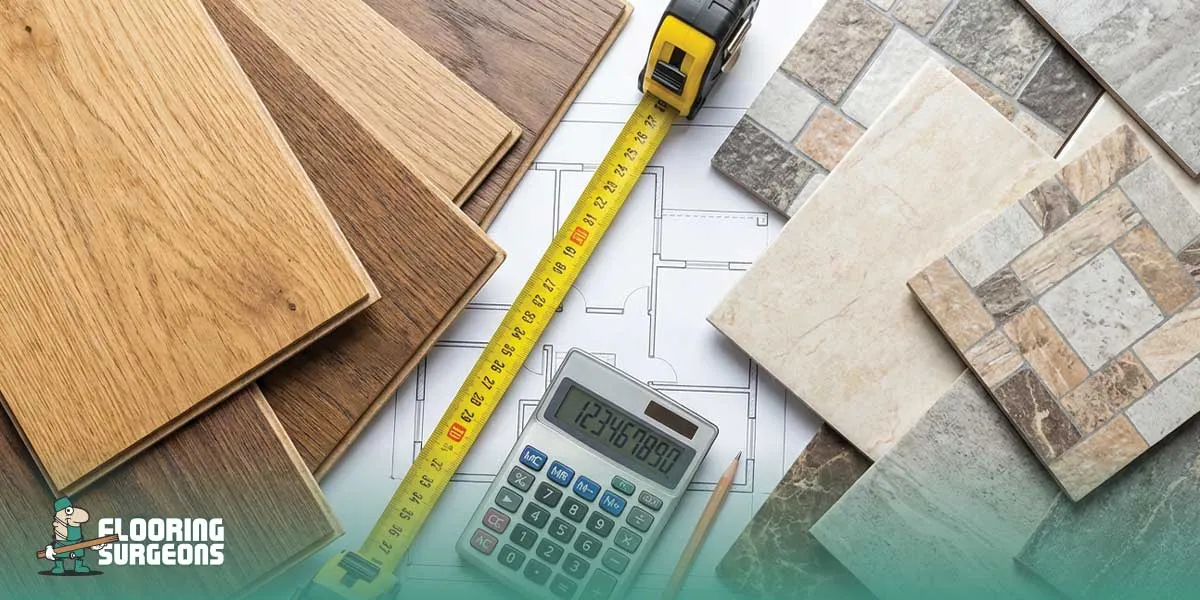
Engineered wood flooring is a great way to add beauty and durability to your home. If you’re asking yourself how to install engineered wood flooring or how to install engineered hardwood flooring, we’ve got you covered. From selecting the right method to laying your floor perfectly, we’ll guide you through every step. How long to lay engineered wood floor? With a little preparation and some helpful tips, you can complete the process smoothly. We’ll show you how to install engineered wood flooring like a pro in this comprehensive guide. So, let’s explore the world of engineered wood flooring and transform your space with a stylish, lasting finish!
Essential Tools Needed to Install Engineered Flooring
To know how to install engineered wood floors, one needs to have some tools at their disposal. With the right set of tools and measuring equipment, the entire installation becomes quicker and easier.
Here’s the basic list of tools you will need to install engineered wood floors:
- Tape Measure: It is used to measure the room to work out the layout plan.
- Utility Knife: It is used to cut the planks so that they fit into the room.
- Mallet: This is a wooden hammer used to tap the plank.
- Flooring Spacer: It is a tool that creates the necessary gap between the floor and the wall.
- Circular Saw: It is used to cut the planks to the desired length.
- Pull Bar and Tapping Block: These two are used to press the plank locking without damaging the edges.
- Power Drill: It is used in cases where the planks need to be nailed or stapled down.
- Level: This is used to make sure the floor is level as one works.
- Dust Mask and Safety Glasses: These are used for safety while cutting and installing.
Once you have all these tools, you will know exactly how to install engineered wood floors, and you will be on your way to easy installation.
Preparing the Subfloor for Engineered Wood Flooring
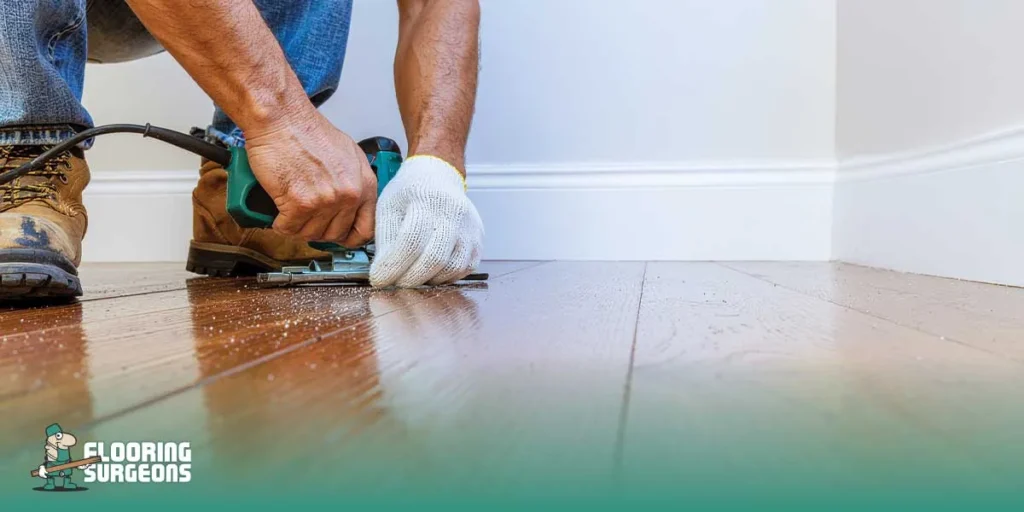
Proper preparation of the Subfloor is crucial to ensuring the longevity and stability of your engineered wood flooring. Here’s how to prepare the Subfloor before laying your engineered wood floor:
- Clean the Subfloor: Remove any dust, dirt, or debris to ensure a smooth surface for installation.
- Check for Moisture: Moisture can affect engineered wood flooring, so use a moisture meter to check the Subfloor. If it’s too high, address the issue before proceeding.
- Level the Subfloor: A level surface is essential for a flawless finish. Use a levelling compound to fill in low spots or uneven areas.
- Install Vapour Barrier (if needed): If you’re installing your engineered wood flooring over concrete or a damp subfloor, consider laying down a vapour barrier to prevent moisture damage.
- Allow Acclimatization: Let your engineered wood flooring acclimate to the room’s temperature and humidity for 48 hours before installation.
By preparing the Subfloor properly, you’ll ensure that your engineered wood flooring will be stable and last for years to come. Now you’re ready to learn how to lay engineered wood floor with confidence!
Acclimatizing an Engineered Wood Floor
Acclimatizing your engineered wood floor before installation is a crucial step in the engineered wood flooring installation guide. This process involves allowing your engineered hardwood flooring to adjust to the temperature and humidity of the room where it will be installed. By taking the time to properly acclimatize your floor, you can help prevent issues such as expansion or contraction once it is laid down. Here’s how to acclimatize engineered wood flooring:
- Place the Planks in the Room – Start by laying the unopened boxes of engineered wood flooring in the room where they will be installed.
- Leave them for 48 to 72 Hours – Leave the planks to acclimate for at least two to three days. This allows the flooring to adjust to the temperature and humidity of the room, ensuring it won’t warp or shrink once it’s installed.
- Maintain Ideal Conditions – During this time, keep the room at a consistent temperature (between 60-80 °F or 15-27 °C) and humidity level (between 30-50%). Use a hygrometer to monitor the humidity level.
Acclimatizing is an important step in your engineered wood flooring installation guide that can help you avoid common issues after installation, ensuring your floor remains beautiful and stable for years to come.
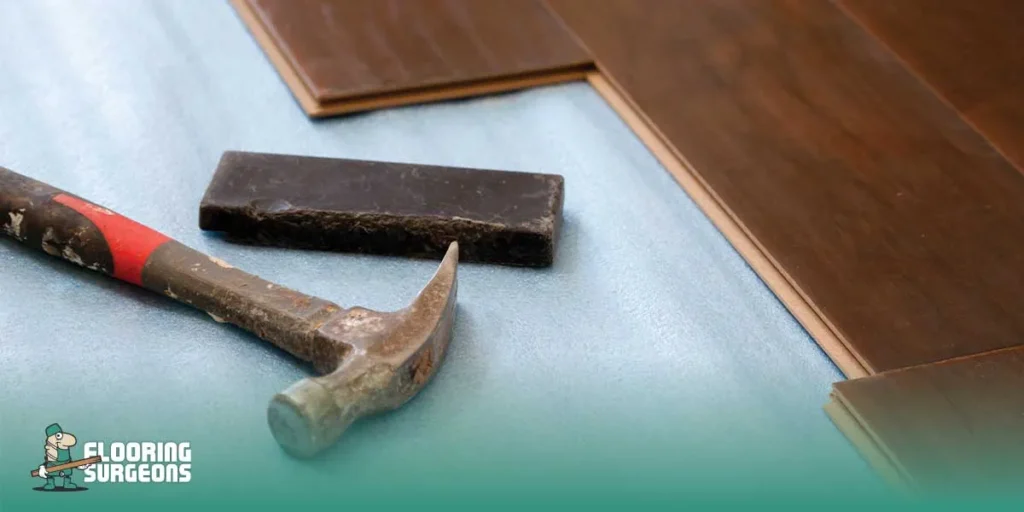
Measuring the Room to Install Engineered Flooring
Precise measuring is the first thing that one has to take care of to ensure a successful installation of engineered wood floors. You may also be interested in knowing about how to install engineered wood floors or how to plan for an engineered wood floor layout, but precise dimensions are the first step in the right direction. Here is how to go about measuring your room for an engineered wood floor layout:
- Measure the Length and Width: Use a tape measure to take the length and width of the room, in two separate places, at a minimum, to allow for uneven walls.
- Calculate the Square Footage: Multiply the width by the length to determine the square footage of the room. This will allow you to calculate how much flooring material you will require.
- Plan for Extra Flooring: Order extra flooring (usually an additional 10%) to account for cutting, mistakes, and future repairs.
- Square the Room: Measure the diagonal of the room to ensure that the walls are square. This will aid in the proper placement of the boards and avoid misalignment.
Once you have taken these measurements, you are one step ahead of where to start and how to install engineered hardwood flooring. Accurate measurements are what make all the difference for a successful installation process!
Engineered Wood Flooring Installation Methods
When learning how to install engineered wood flooring, it’s essential to understand the different installation methods available. Depending on your Subfloor and the look you want to achieve, you can choose from various techniques, including nailing, gluing, stapling, floating, or using click-lock systems. Let’s break down each of these methods:
Nailing Down
Nailing down is a traditional method used to install engineered wood flooring over a wood subfloor. This technique requires a pneumatic nailer or a flooring stapler to secure the planks in place.
- Best for: Wood subfloors.
- Advantages: Creates a sturdy, secure floor and is relatively simple for those with experience.
- Considerations: It may require more effort and tools, and how engineered wood flooring installed can be more labour-intensive than other methods.
Glue-Down Method
The glue-down method is ideal for installing engineered wood flooring over concrete subfloors. It involves spreading a high-quality adhesive on the Subfloor and then laying the flooring on top, securing the planks in place.
- Best for: Concrete subfloors or where moisture control is necessary.
- Advantages: Provides a very secure installation, reducing the chance of movement over time.
- Considerations: How to install engineered wood flooring with glue requires careful application of adhesive, and it may be messier than other methods.
Stapling Down
Stapling down is another installation method, similar to nailing but using staples instead of nails. It is a good choice when installing engineered wood floors over wood subfloors.
- Best for: Wood subfloors.
- Advantages: Faster than nailing and provides a solid, lasting hold.
- Considerations: Ensure the staples are placed at regular intervals for maximum stability.
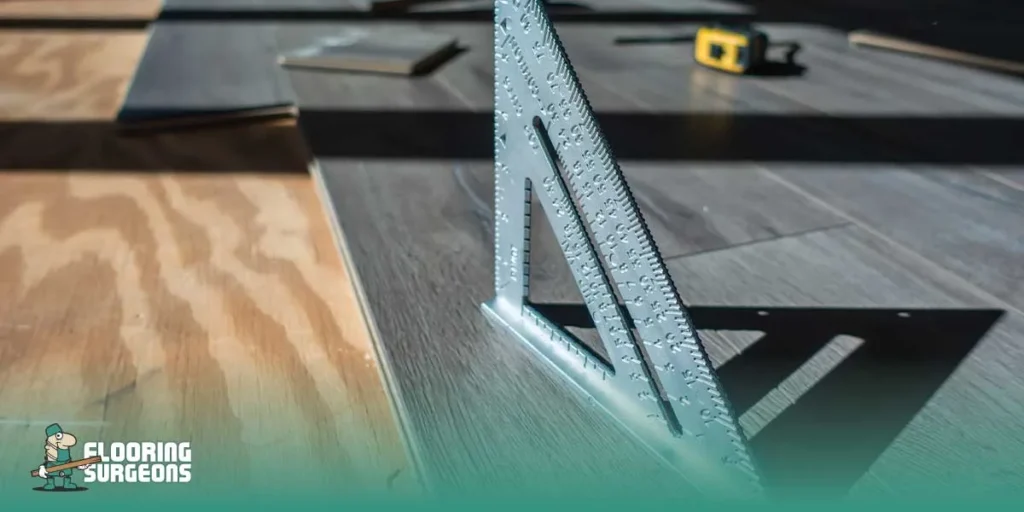
Floating Tongue and Groove
The floating tongue and groove method is one of the easiest ways to install engineered wood flooring. The planks lock together using a tongue-and-groove system, and no nails or glue are needed. The floor “floats” over the Subfloor, making it an excellent choice for DIY projects.
- Best for: Any subfloor, including concrete, plywood, or existing flooring.
- Advantages: How to install engineered wood flooring with this method is simpler, with no need for nails or glue.
- Considerations: The floor must be properly acclimatized and maintained with an expansion gap around the edges.
Click-Lock
Click-lock flooring is a type of floating floor with a unique mechanism that allows the planks to “click” together without any nails or glue. This method is incredibly user-friendly, making it ideal for DIY enthusiasts.
- Best for: All subfloors, including concrete and plywood.
- Advantages: Simple installation process, quick, and no adhesive or nails required.
- Considerations: It may require a bit more effort to align the planks properly during installation.
Choosing the right installation method depends on your Subfloor and preference for convenience or durability. For example, if you’re wondering how to install engineered wood flooring over plywood, the most common methods are nailing, stapling, or floating, each of which has its advantages. Regardless of the method, always ensure that you use the correct Underlay for Engineered Flooring to maintain moisture control and cushion your floor.
Here is the table comparing the different installation methods for engineered wood flooring:
| Installation Method | Best For | Advantages | Considerations |
| Nailing Down | Wood subfloors | Sturdy, secure, relatively simple for experienced installers | More labour-intensive, requires nailer or stapler |
| Glue-Down | Concrete subfloors or moisture areas | Very secure, reduces movement over time | Messier than other methods, requires adhesive application |
| Stapling Down | Wood subfloors | Faster than nailing, solid hold | Staples must be placed regularly for stability |
| Floating Tongue and Groove | Any subfloor (wood, concrete, existing floor) | Easy to install, no nails or glue needed | Requires proper acclimatization and expansion gap |
| Click-Lock | Any subfloor (wood, concrete, plywood) | Quick installation, no adhesive or nails required | Requires precise alignment of planks |
How to Lay Engineered Wood Flooring?
Installing engineered wood flooring can seem intimidating, but with the proper preparations and process, it becomes a much simpler task. So, whether you’re looking for information on how to install engineered wood flooring or how to lay click engineered wood flooring, this process is made easy with the following steps, which result in a floor that will look beautiful and last for years to come:
- Prepare the Subfloor – As stated in the previous step, cleaning the Subfloor and making sure that it is dry and level is vital for a proper installation.
- Acclimatize the Wood – Allow your engineered wood flooring to acclimatize in the room for 48–72 hours prior to installation. This allows the wood to acclimate to the room’s temperature and humidity levels.
- Start Laying the Planks – Begin in one corner of the room and place the first plank against the wall, using a spacer to create the necessary expansion gap. Lay the planks down, making sure they fit snugly together and using the appropriate engineered wood flooring installation method (click-lock or tongue-and-groove) to connect the planks.
- Cut the Planks if Necessary – If you need to cut the last row of planks to fit, use a saw to cut them to the proper length.
- Secure the Planks – If you are using the nailing/stapling/glue-down method, make sure the planks are properly secured with the chosen method.
What Type of Underlay Do I Need to Lay Engineered Wood Flooring?
Selecting the right underlay is crucial to ensure the durability and comfort of your engineered wood flooring. An underlay acts as a barrier between the flooring and the Subfloor, providing support, moisture protection, and noise reduction.
- For Floating Floors – If you’re using the click-lock or tongue-and-groove methods, a foam, or cork underlay is commonly used to provide cushioning and reduce sound.
- For Glue-Down and Nailing Methods – For these installation methods, a vapour barrier underlay is often recommended, especially over concrete subfloors, to prevent moisture damage.
- For Uneven Subfloors – If your Subfloor is slightly uneven, consider using a thicker underlay to create a more stable surface.
It’s important to choose the right Flooring Adhesive and underlay for your specific installation method to ensure the flooring remains secure and performs well over time.

Common Mistakes to Avoid When Installing Engineered Wood Flooring
Installing engineered wood flooring can be a rewarding project, but there are several common mistakes that can affect the quality and longevity of your floor. Here’s how to avoid them when learning how to install engineered wood flooring:
- Skipping Subfloor Preparation – Not properly preparing the Subfloor is one of the biggest mistakes. It must be clean, level, and dry. Otherwise, your engineered wood floors may warp or become uneven over time.
- Not Acclimatizing the Flooring – Failing to acclimatize the wood can result in the boards expanding or contracting after installation. Always let your engineered wood flooring sit in the room for 48–72 hours before installation.
- Ignoring the Expansion Gap – Forgetting to leave an expansion gap around the perimeter of the room can cause the floor to buckle or warp. Ensure there’s enough space for the wood to expand and contract with temperature changes.
- Incorrect Underlay – Using the wrong underlay for your subfloor type can lead to moisture problems, poor insulation, and an uncomfortable walking experience. Choose an underlay that matches your installation method and Subfloor.
- Improper Installation Method – Not selecting the best way to install engineered wood flooring for your specific room and Subfloor can lead to instability. Be sure to use the appropriate technique, whether it’s glue-down, click-lock, or nailing down.
Avoiding these mistakes will ensure your engineered wood flooring is installed correctly, providing lasting beauty and functionality.
The Cost of Engineered Wood Flooring Installation in the UK
Engineered wood flooring installation costs can range from £2.46 to £8.20 per square foot, based on different variables. If you are asking, “How much does engineered wood flooring cost to install?” then here are some of the cost factors:
Material costs: Engineered wood flooring prices typically range from £2.46 to £8.20 per square foot, depending on the brand, style, and quality of the planks. Higher-end materials, such as thicker veneers or specialty finishes, can cost more.
Labour costs: Professional installation typically costs between £1.64 and £4.92 per square foot. The complexity of the installation method and the condition of the subfloor can influence the price.
Additional materials: Underlayment, adhesive, and other installation materials, such as nails or staples, will add to the overall cost. If the flooring is being installed over concrete, a vapour barrier may also be required.
DIY installation: If you decide to install the flooring yourself, you can save on labour costs. However, the process may take longer, and mistakes can result in additional expenses for repairs or reinstallation.
Note: The prices shown above reflect typical costs in the UK — but if you want a more precise quote tailored to your project, you’re welcome to contact the experts at Flooring Surgeons. They offer free consultations and can give you accurate estimates and advice on installation costs.

Tips for Flawless Engineered Flooring Installation
We’ve included some additional tips that will help you achieve a professional finish on your engineered wood flooring:
- Plan Your Layout – Before installation begins, plan your floor’s layout. Take into account the shape and size of the room to ensure planks are aligned aesthetically. For best results, run your planks parallel to the longest wall.
- Use the Right Tools – For precise measurements and cuts, always use the right tools. A tape measure, utility knife, mallet, and spacers are all necessary for a smooth installation process.
- Start from the Center – Begin installation from the center of the room and work your way outward. This helps to create a more balanced look and avoids having uneven edges.
- Leave Room for Expansion – Remember to leave an expansion gap around the room’s perimeter to allow for temperature and humidity changes. This is essential to prevent buckling or warping over time.
- Installing on Stairs – For stairs, use stair tread nosing for the edges and secure planks with adhesive or nails. Take extra care in cutting for a neat finish.
- Avoid Walking on the Floor During Installation – Don’t walk on the flooring until it’s properly set to avoid shifting the boards out of place.
- Check for Consistency – Regularly check that your planks are lined up throughout the installation process to ensure they stay straight and avoid gaps or uneven edges.
Following these additional tips will help you achieve a professional-looking floor that will last for years.
If you’re still not sure if engineered wood is right for your flooring project, you may also be questioning, “Is Engineered Wood Better than Laminate?” Engineered wood is known to offer superior durability, a more authentic appearance, and can be refinished if needed. On the other hand, laminate is typically more budget-friendly but lacks the real wood feel and may not last as long. In the end, it comes down to your personal priorities and budget.


