If you’re wondering how to install engineered flooring on concrete, you’re not alone. Many homeowners are turning to engineered wood for its durability, beauty, and versatility. Installing engineered hardwood floor on concrete may seem challenging at first, but with the right approach, it can be a smooth and rewarding process. This guide will walk you through everything you need to know, from preparing the concrete subfloor to choosing the best installation method, ensuring that your floors not only look fantastic but also stand the test of time.
By following these expert tips and techniques, you’ll be able to install engineered wood flooring on concrete with confidence, creating a stunning, long-lasting surface in your home.
How to Install Engineered Hardwood Floor on Concrete
If you’re asking how to install engineered hardwood floor on concrete, you’re in the right place. Installing engineered wood flooring on concrete can be a straightforward DIY project if you take the proper steps. Whether you’re interested in how to lay engineered wood flooring on concrete or wondering how to glue engineered wood flooring on concrete, this guide will cover everything you need to know for a successful installation.
Concrete slabs provide a stable foundation for installing engineered wood flooring on concrete slab, but the key to a successful installation is proper preparation. With the right tools, materials, and techniques, your new floors will not only enhance the beauty of your space but also last for years to come.
Let’s begin by preparing the concrete subfloor – the crucial first step to achieving a perfect installation.

Preparing the Concrete Subfloor for Installation
Before diving into the actual installation of your engineered wood flooring, it’s essential to make sure your concrete subfloor is properly prepared. A solid foundation ensures your flooring stays secure, looks great, and lasts longer.
Inspecting the Concrete for Contaminants
The first step in preparing your concrete subfloor is inspecting it for contaminants like dust, grease, or any other residues that could affect the installation. If your concrete slab has any impurities, these could interfere with adhesive bonding or create an uneven surface for your engineered flooring wood.
Clean the Subfloor
A clean subfloor is critical for a successful installation. Use a vacuum and broom to remove any dust, dirt, or debris. You may also need to mop the surface to ensure it’s free from any oils or stains. This is especially important if you’re planning on gluing engineered wood flooring on concrete, as dirt or contaminants can affect how well the adhesive sticks.
Moisture Levels
Concrete tends to absorb moisture, which could potentially damage your engineered wood flooring on concrete. It’s essential to check the moisture levels in your subfloor before beginning installation. Moisture can cause your flooring to warp or buckle over time. For accurate results, use a moisture meter to assess the concrete’s moisture levels.
Vapour Transmission Test
To further assess moisture, perform a vapour transmission test. This test will help you understand if there’s excessive moisture rising through the concrete slab, which can negatively influence your engineered wood flooring. If moisture levels are high, you may need to apply a moisture barrier or consider using a different installation method.
Address High Spots and Unevenness
Next, check for any high spots or uneven areas on your concrete subfloor. These can cause gaps between your floorboards, leading to an uneven finish. Use a levelling compound or a grinder to smooth out these areas. Achieving a flat and level surface is crucial to ensuring your herringbone engineered wood flooring lies perfectly and securely.
Fill Cracks and Holes
Inspect the concrete slab for cracks or holes. If you find any, make sure to fill them with a concrete patching compound. Allow the filler to dry completely before moving on to the next step. Properly filling cracks and holes ensures a smooth, even surface for your flooring.
Address Moisture Issues
If you’ve detected any moisture issues during your vapour transmission test or moisture check, now is the time to address them. Install a moisture barrier to protect your flooring from potential water damage. This will help prevent future problems, particularly if you’re considering how to glue engineered wood flooring on concrete, as moisture can weaken the adhesive.
Allow for Drying Time
Once any moisture barriers, fillers, or sealants have been applied, give them ample time to dry. Rushing this process can lead to poor adhesion or a warped floor. It’s essential to allow your subfloor to fully cure before proceeding with the installation of your engineered wood flooring on concrete slab.
Checking the compatibility of the planks
Before laying your engineered wood flooring, make sure the planks have been properly acclimatized. This means allowing the wood to adjust to the room’s temperature and humidity levels for at least 48 hours before installation. This helps prevent expansion or contraction once the floor is in place.
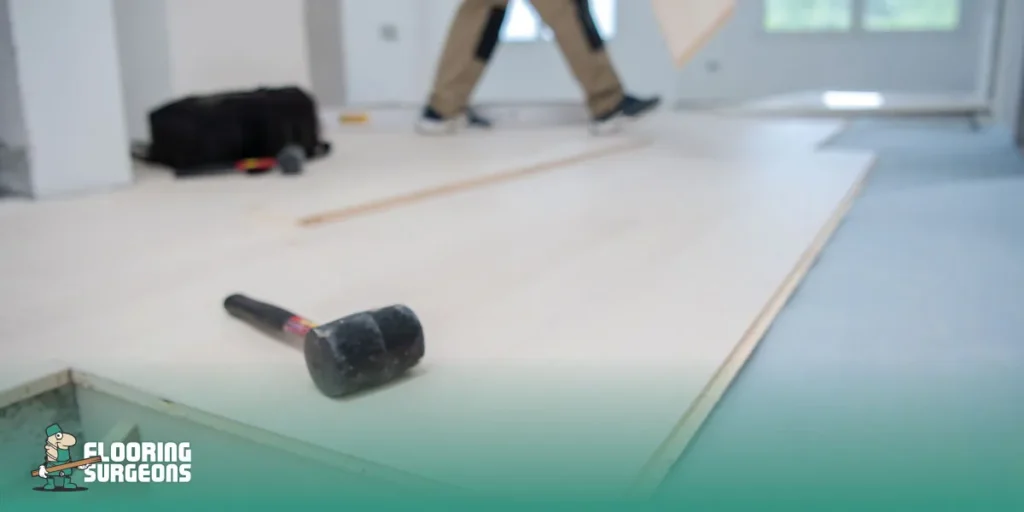
Underlayment Options for Engineered Wood Flooring on Concrete
Choosing the right underlayment is a crucial step when considering how to install engineered wood flooring on concrete. The underlayment not only provides additional cushioning but also plays an essential role in protecting your flooring from moisture, improving sound insulation, and enhancing overall comfort. Let’s have a look at two popular underlayment options that will help ensure a smooth and lasting installation.
Moisture Barrier Underlayment
One of the biggest concerns when installing engineered wood flooring on concrete is moisture. Concrete slabs tend to trap moisture, which can lead to warping or damage over time. Moisture barrier underlayment is specifically designed to protect your flooring from this threat by creating a layer that prevents water vapour from seeping into the wood.
When determining the best way to install engineered hardwood flooring on concrete slab, it’s essential to invest in a high-quality moisture barrier underlayment. This will safeguard your flooring, ensuring long-term durability and stability, especially in areas where moisture levels tend to fluctuate.
Cork Underlayment
Another excellent option for engineered wood flooring on concrete is cork underlayment. Not only does cork offer great soundproofing qualities, but it also provides a slight cushion for your flooring, which enhances comfort underfoot. Cork is naturally resistant to moisture, which adds an extra layer of protection, making it a great choice for those who are concerned about moisture levels in their concrete subfloor.
Using cork underlayment also helps with the installation of engineered wood flooring on concrete by providing an even surface, which makes it easier to lay your planks. It also promotes the stability of the herringbone engineered wood flooring pattern by reducing the risk of expansion or contraction due to changes in temperature and humidity.
Choosing the Right Installation Method – Floating, Glue-Down, or Nail-Down
When considering how to install engineered flooring on concrete, choosing the right installation method is crucial for a successful and lasting finish. Each method offers its own benefits depending on your needs, budget, and the condition of your concrete subfloor. Let’s explore the three most common installation methods: Floating, Glue-Down, and Nail-Down.
Floating Installation
Floating installation is one of the most popular methods when it comes to how to lay engineered wood flooring on concrete. In this method, the planks are not attached directly to the subfloor. Instead, they are locked together using a click-lock system, allowing the flooring to “float” above the concrete.
This method is quick and easy, making it ideal for DIY projects. It also offers the flexibility of expansion and contraction with changes in temperature or humidity, making it a great option for concrete floors. However, floating installations might not provide the same level of stability as other methods. For the best results, consult experts like flooring surgeons to ensure this method suits your specific needs.
Glue-Down Installation
If you’re wondering how to glue engineered wood flooring on concrete, glue-down installation might be the right choice for you. This method involves applying adhesive directly to the concrete slab and then placing the engineered wood flooring on top. The adhesive bonds the planks to the subfloor, providing a strong, stable connection.
Glue-down installation is perfect for areas with heavy foot traffic, as it ensures that the floor won’t shift or move over time. It also works well in environments with fluctuating temperatures and humidity levels. However, this method can be more time-consuming and requires careful application of glue to avoid any mistakes. For detailed guidance, consult professionals to help you achieve the best results.
Nail-Down Installation
Nail-down installation is the most traditional method of laying engineered wood flooring on concrete. While this method is typically used with wooden subfloors, it can also work with concrete when combined with a plywood underlayment. The planks are nailed down to the underlayment, ensuring a secure and durable installation.
This method provides excellent stability and is ideal for those who want a long-lasting, permanent solution. However, it requires more effort and expertise compared to other methods. If you choose this option, it’s always a good idea to consult with experienced professionals like flooring surgeons to ensure a smooth and successful installation process.
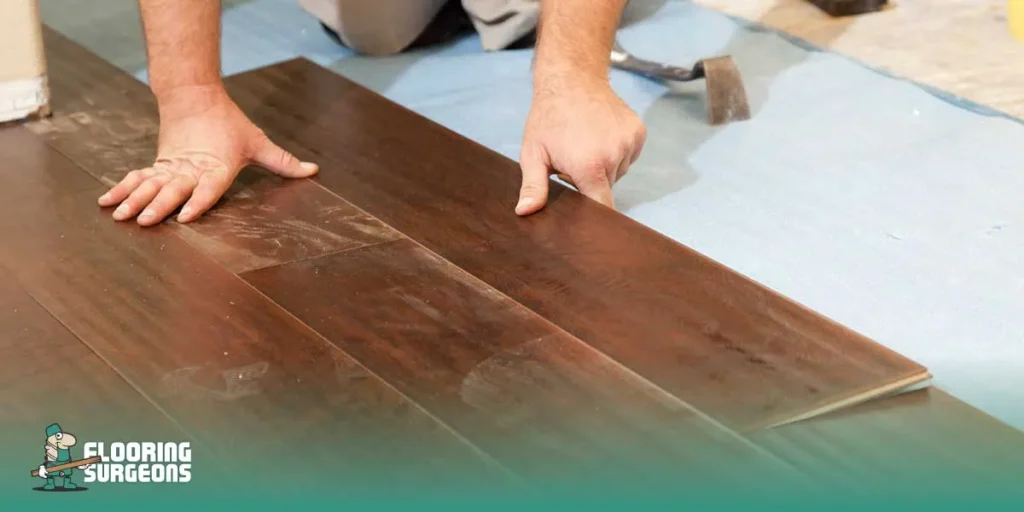
Step-by-Step Guide to Installing Engineered Wood Flooring on Concrete
Installing engineered wood flooring on concrete can be a rewarding DIY project if done correctly. To help guide you through the process, here’s a concise step-by-step outline of how to successfully install engineered wood flooring on a concrete slab.
1. Prepare the Concrete Subfloor
- Inspect the concrete for any contaminants like dust or grease.
- Clean the subfloor thoroughly using a vacuum and mop.
- Check moisture levels using a moisture meter.
- Fix cracks or holes in the concrete with patching compound.
2. Choose the Right Underlayment
- Install a moisture barrier if needed to prevent moisture damage.
- Consider using cork underlayment for added soundproofing and cushioning.
3. Select Your Installation Method
- Floating Installation: Use click-lock planks that fit together without glue or nails.
- Glue-Down Installation: Apply adhesive directly to the concrete and place the flooring on top.
- Nail-Down Installation: Secure the planks using nails, typically used with plywood underlayment.
4. Lay the Flooring
- Start by laying the first row of planks along the longest wall.
- Use spacers to maintain an expansion gap between the planks and the walls.
- Fit the planks together, tapping them in place using a rubber mallet and tapping block.
5. Cut the Planks
- Use a utility knife or saw to trim planks at the edges or for fitting around obstacles like doors or vents.
6. Finishing Touches
- Remove the spacers once the floor is complete.
- Install baseboards or mouldings to cover the expansion gap.
Tools You’ll Need for Installation
To successfully complete the installation of engineered wood flooring on concrete, you’ll need a few essential tools. Here’s a list of the tools required for the job and their specific purposes:
| Tool | Purpose |
| Moisture Meter | To measure the moisture level in the concrete before installation. |
| Tape Measure | To accurately measure the length of the area where the flooring will be installed. |
| Utility Knife | For cutting the planks to fit the edges and corners of the room. |
| Rubber Mallet | To tap the flooring planks into place without damaging the surface. |
| Tapping Block | Used to tap the planks snugly together during installation. |
| Spacers | To maintain proper expansion gaps between the planks and the walls. |
| Level | To check the evenness of the subfloor and ensure a smooth surface. |
| Flooring Adhesive | To apply the adhesive evenly on the concrete for glue-down installation. |
| Notched Trowel | For spreading adhesive evenly onto the subfloor during glue-down installation. |
| Saw (Circular or Jigsaw) | For cutting the flooring to the correct size for the area. |
These steps and tools will help ensure a smooth and successful installation of engineered wood flooring on concrete.

Common Mistakes to Avoid When Installing Engineered Wood Flooring on Concrete
When you’re wondering how to install engineered wood flooring over concrete, avoiding common mistakes is crucial for achieving a durable and beautiful result. Even experienced DIYers can make these errors. Here are the top mistakes to watch out for:
1. Insufficient Moisture Protection
Proper preparation of the subfloor is essential for a flawless installation. How to install engineered flooring on concrete starts with cleaning and levelling the surface. Any dirt, debris, or unevenness will affect the flooring’s stability and may cause it to shift over time. Ensure that the concrete slab is level, clean, and smooth before starting the installation process.
2. Inadequate Subfloor Preparation
Proper preparation of the subfloor is essential for a flawless installation. How to install engineered flooring on concrete starts with cleaning and levelling the surface. Any dirt, debris, or unevenness will influence the flooring’s stability and may cause it to shift over time. Ensure that the concrete slab is level, clean, and smooth before starting the installation process.
3. Incorrect Acclimatization
How to install engineered wood flooring on concrete slab requires the wood to be acclimatized to the room’s temperature and humidity. Failing to do this can lead to expansion or contraction after installation. Allow the planks to sit in the room for at least 48 hours before installation to let them adjust to the environment.
4. Poor Adhesive Application
If you’re opting for glue-down installation, improper adhesive application can cause the flooring to shift or create weak spots. Be sure to apply the adhesive evenly across the subfloor using a notched trowel, and avoid skipping any areas. Following the manufacturer’s guidelines on adhesive is key to ensuring the floor stays secure over time.
5. Neglecting Expansion Gaps
When installing engineered wood flooring on concrete, it’s essential to leave proper expansion gaps around the edges of the room. Wood expands and contracts with changes in temperature and humidity. Without expansion gaps, your flooring could buckle or warp. Use spacers to maintain these gaps, which allows the floor to breathe.
6. Not Considering Room Temperature and Humidity
Before you start laying your engineered wood floor, consider the room’s temperature and humidity. Installing flooring in extreme conditions can cause the wood to behave unpredictably. Aim to install the floor when the room is at a comfortable temperature (typically between 60-80 °F or 15-27 °C) with moderate humidity levels.
Final Thoughts
Installing engineered wood flooring on concrete can transform your space, but it requires careful planning and attention to detail. By avoiding common mistakes like improper moisture protection, inadequate subfloor preparation, and neglecting acclimatization, you can ensure a long-lasting, beautiful result.
If you’re still unsure about specific steps, remember that professionals can always help guide you. For example, you might wonder, do you need underlay for engineered wood flooring? It’s essential to use an underlayment to protect against moisture and provide extra comfort and sound insulation. Investing in the right underlayment ensures your flooring remains in top condition for years to come.


