Bay windows add character, but their angled sides can be difficult to finish neatly. The solution is to plan the board direction first, copy the shape accurately and test every cut before fixing anything in place. This guide covers how to lay flooring around a bay window using a cardboard template, sliding bevel or scribing tool, while keeping the perimeter gap and final trim tidy.
Table of contents
Quick Answer: How to Lay Flooring Around a Bay Window Without Mistakes
Dry-lay the final rows. Copy each wall angle with a full-size template or sliding bevel, transfer the shape to one board at a time and test-fit every piece. Never assume both sides are identical or automatically set the saw to 45 degrees.
How to Measure a Bay Window for Flooring
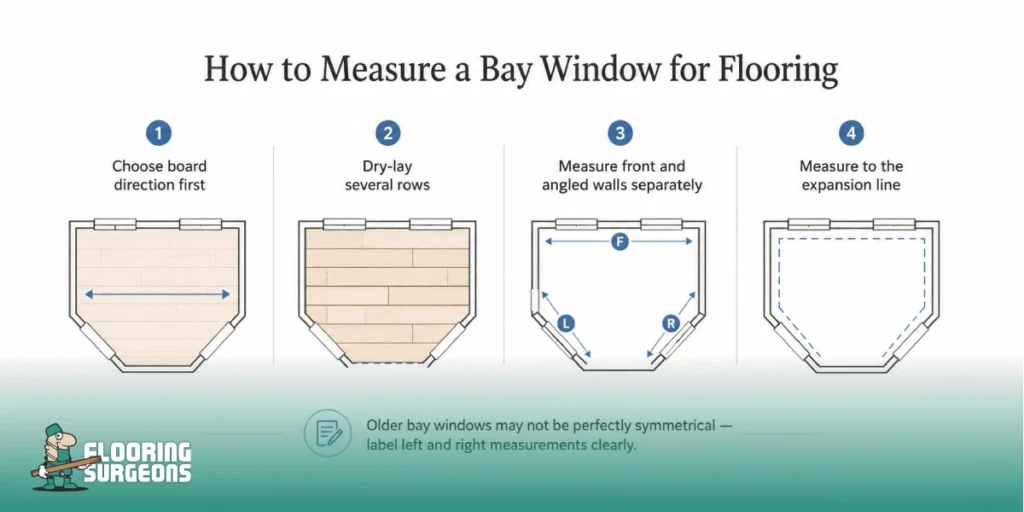
Decide how the boards will run before taking detailed measurements. The direction affects the width of the final row, the number of small pieces inside the bay and the overall balance of the room. Dry-lay several rows so you can adjust the starting point if the last board would become an impractical sliver. For more layout guidance, read how to choose the direction of laminate flooring before setting your reference line.
Measure the front and angled walls separately. Older properties are rarely perfectly symmetrical, even when the bay looks even. Label the left and right measurements clearly. When working out how to measure a bay window for flooring, measure to the required expansion line rather than tightly against the wall.
Choosing a Method for Bay Window Flooring Installation
Choose the method according to the wall shape.
| Bay-window shape | Best measuring method | Cutting tool |
| Straight sides and simple angles | Sliding bevel | Mitre saw or jigsaw |
| Several uneven angles | Cardboard template | Jigsaw |
| Curved or irregular wall | Scribing tool | Jigsaw |
| Patterned layout | Centreline and template | Mitre saw and jigsaw |
A sliding bevel is quick for a clean, straight angle. A template is safer when the sides differ. For anyone learning how to fit flooring around awkward angles, it also reduces the risk of cutting the correct shape in the wrong orientation.
How to Make a Template for Flooring Cuts
- Lay builder’s paper or thin cardboard inside the bay. Tape several pieces together if necessary, then mark the front wall, both angled sides and any short returns near the skirting.
- Reduce the template by the expansion gap required for the chosen product. The correct allowance varies by product. Mark “top”, “left” and “window side” before lifting the template.
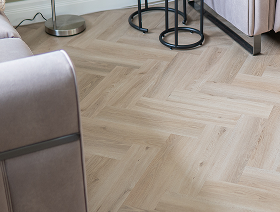
- Place it on the board in the actual fitting direction and check the click or tongue-and-groove profile before drawing. This method works particularly well with Laminate Flooring, as each piece can be marked and dry-fitted before the surrounding row is locked together.
How to Cut Laminate Flooring Around a Bay Window
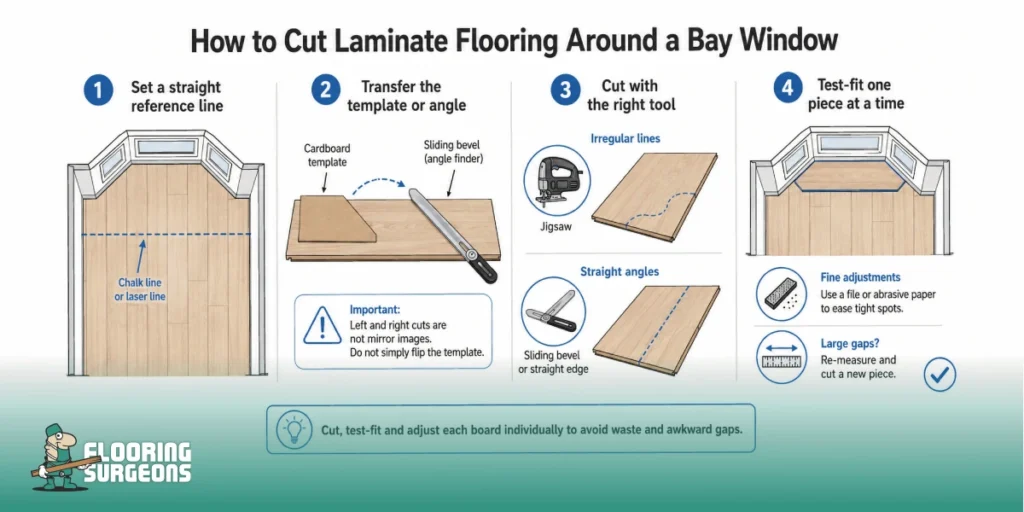
Set a straight reference line with a chalk line or laser. Lay full boards towards the bay, stopping before the final row to measure the cut pieces. Planning matters when fitting laminate flooring in a bay window. A poorly positioned first row can leave a narrow strip along one side, making the last cut fragile and difficult to fit.
Transfer the template or bevel angle to the first board. Mark the face direction and window side. Do not simply flip a left-hand cut for the right side; the locking edge may otherwise face the wrong way. A sliding bevel is useful when deciding how to cut flooring around angled walls with regular, straight sections. Use a jigsaw and full-size template for broken, curved or uneven lines. Test the blade on an offcut first.
Cut and test one piece at a time. Place it without locking or glueing, then check the edge. Small adjustments can be made with a file or fine abrasive paper. A large gap should be remeasured rather than filled. This is the most reliable approach to cutting laminate flooring around a bay window without wasting boards.
How to Scribe Flooring Around a Bay Window
Scribing suits bowed or irregular walls. Place the board parallel with the previous row and close to the wall. Set a compass or scribing tool to the widest gap, allowing for the required perimeter space.
Move the tool along the wall so the pencil transfers its profile onto the board. Cut just outside the line, test the piece and refine it gradually. When learning how to scribe flooring around a bay window, keep the tool upright and at a consistent setting. The same method can be used with Engineered Flooring, although its construction and fixing system should be checked before cutting.
Patterned Flooring in a Bay Window
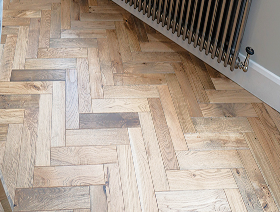
Patterned floors need more planning because small edge blocks look uneven. Establish the room’s centreline first, build the main field from that point and measure the bay afterwards. When installing Herringbone Flooring, cut the perimeter blocks individually and keep the pattern visually centred. A planned border may create a cleaner transition between the main design and the angled walls.
Flooring Expansion Gap Around a Bay Window
A floating floor must be free to expand and contract. Place spacers around every side of the bay. Follow the product instructions rather than copying the gap used for another floor. Skirting, scotia or trim can cover the space. Do not force a board against the wall to close a joint, as restricting movement may cause lifting or buckling.
How to Finish Flooring Around a Bay Window
If the skirting is removed, fit the boards with the required gap and reinstall it. Fix it to the wall, not through a floating floor. If the skirting remains, scotia, quadrant or flexible trim can conceal the edge. Fitting scotia around a bay window requires each joint to follow the true angle. Test each small section and fix the trim to the skirting rather than the floor. Before selecting the final detail, compare Beading vs Skirting to see which finish suits the room and installation method.
Common Mistakes to Avoid When Installing Flooring Around a Bay Window
- Assuming every bay angle is 45 degrees
- Cutting several boards before testing the first
- Mirroring a template without checking the locking edge
- Measuring to the wall instead of the expansion line
- Creating very narrow perimeter pieces
- Fixing trim directly to a floating floor
- Hiding inaccurate cuts with filler
Conclusion
A clean bay-window finish depends on preparation. Set a straight layout, measure each wall separately, make a template where needed and test every piece before installation. Leave room for natural movement and finish the perimeter with correctly fitted skirting or trim. Flooring Surgeons offers options for straight, angled and patterned layouts.

Ana.Soltanpoor
I’m an SEO Specialist with a strong background in content management and organic search. I build data-driven content strategies by aligning user intent, search behavior, and SEO best practices to ensure every piece of content delivers clarity, relevance, and measurable organic performance.